MC服务器搭建
记录一下我唯一玩、最热爱的游戏MC服务器的搭建,这里使用的是MCSManager
随着使用的深入,后续会添加更多
这里使用到的:一台带有公网ip的ubuntu22.04-x64系统服务器、MCSManager面板,我们要安装的是java1.21.4-Fabric版本
预操作
先进行一些经典操作
更新软件源
1 | apt update |
开放端口
启动防火墙,开放端口,下面我们会用到的是23333、24444和25565端口,特别要注意的是别忘了开放自己ssh所用的端口,这里我使用的是49578端口
1 | ufw enable |
安装java
由于我们要安装的是1.21.4版,因此需要安装对应的java21的环境
1 | apt install openjdk-21-jdk |
面板安装
一键安装
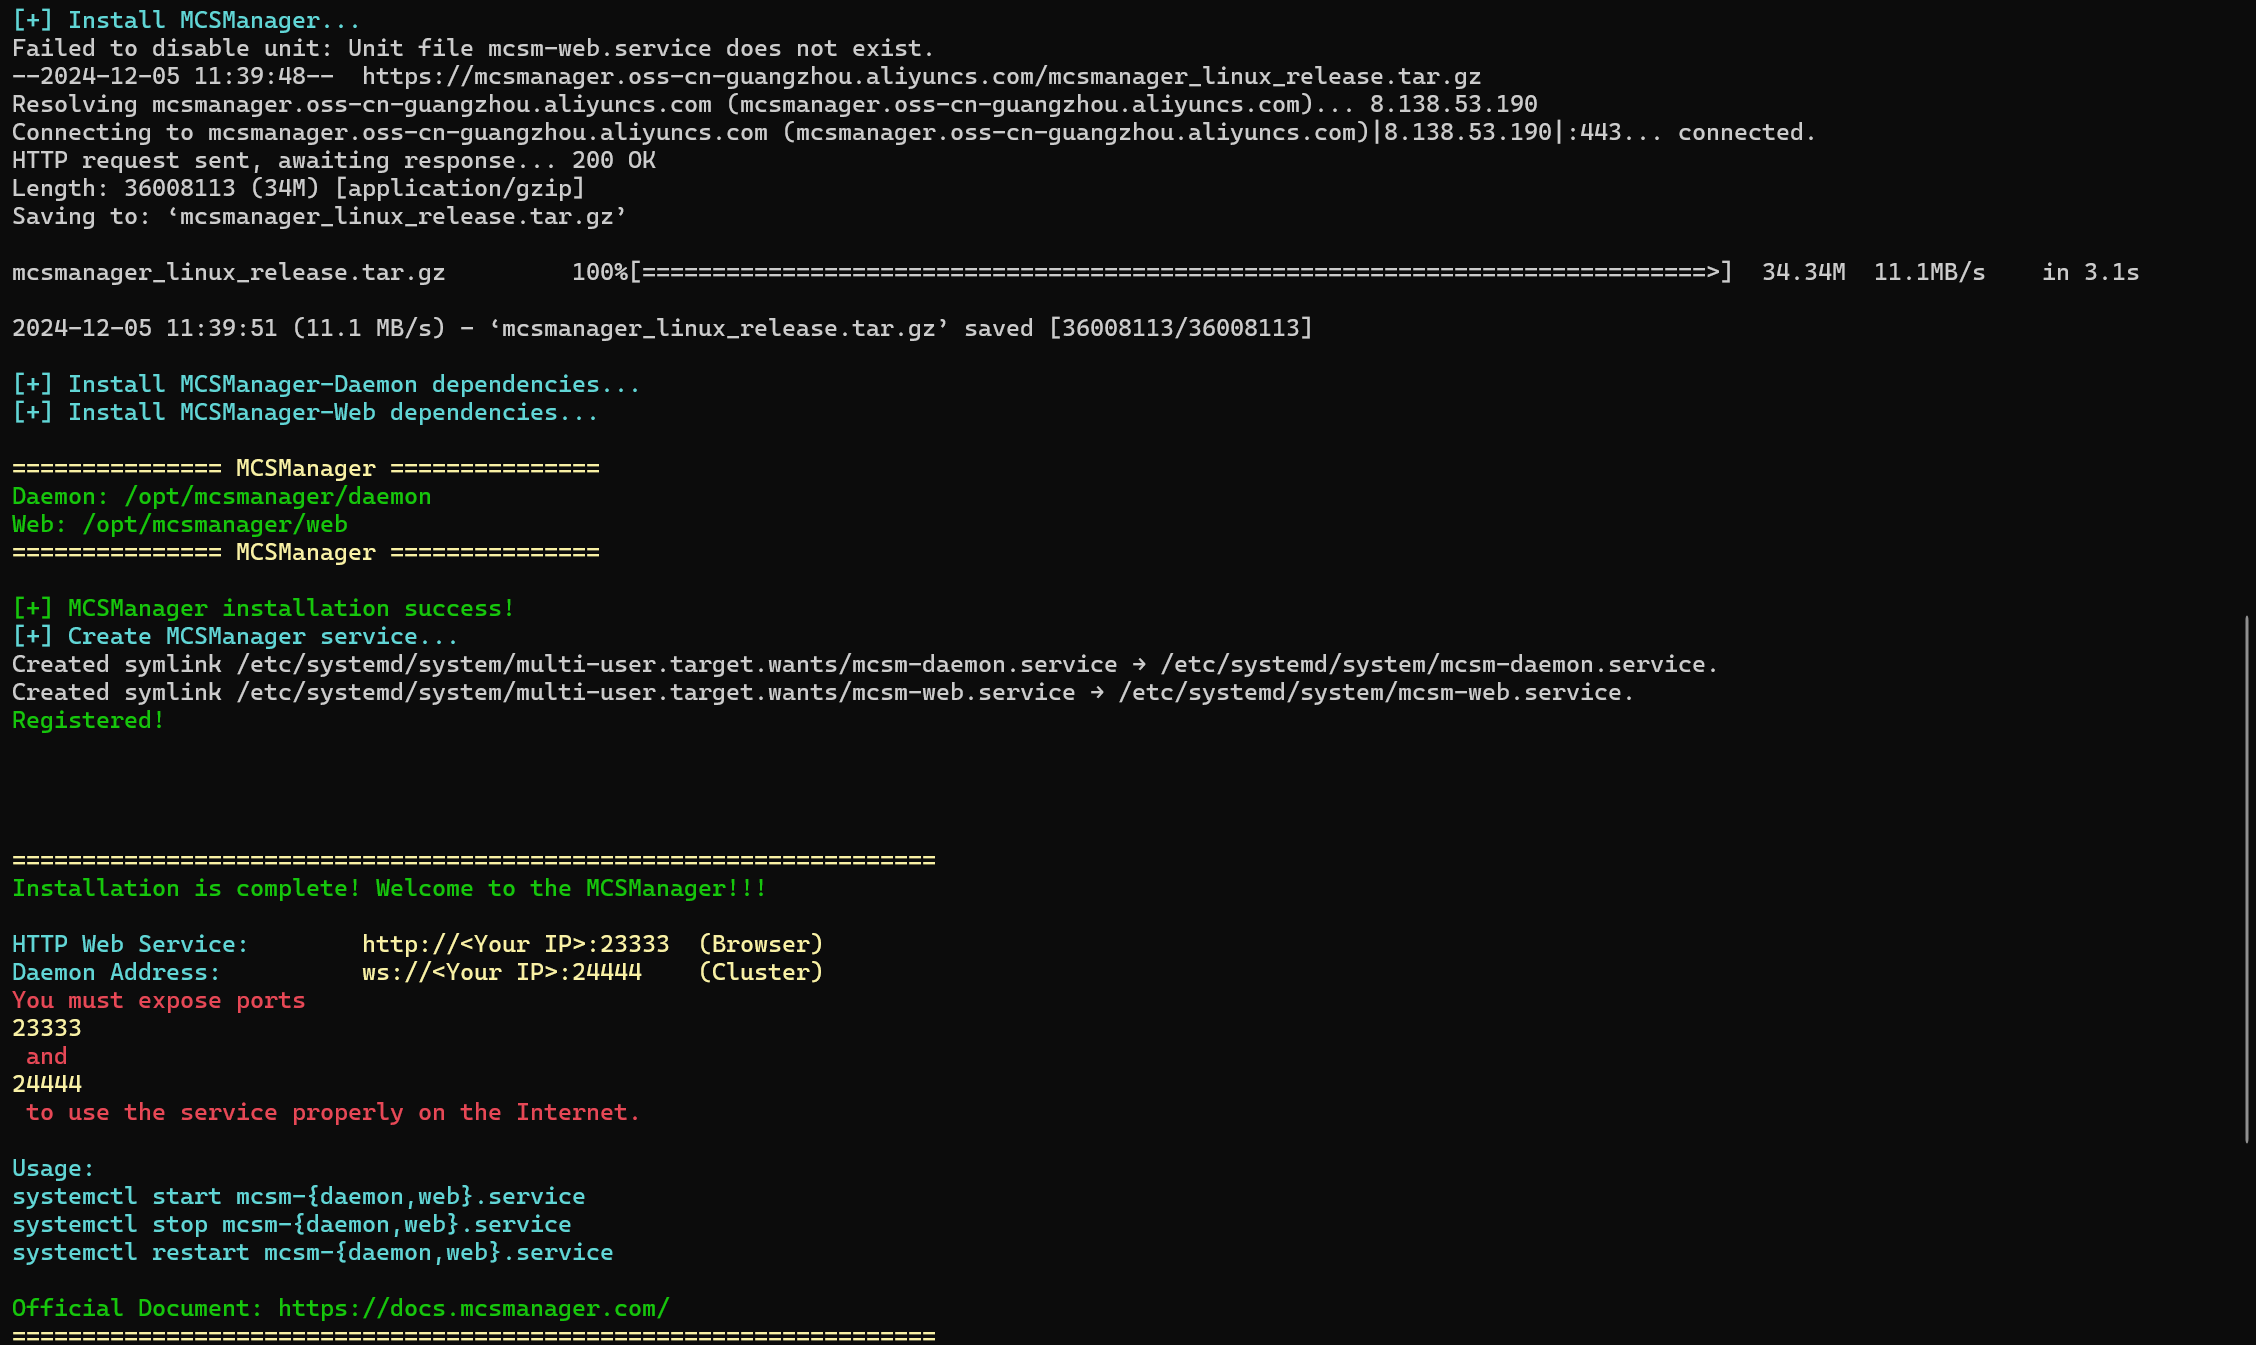
官方给出的一键安装方法(实测国内服务器可用)
1 | sudo su -c "wget -qO- https://script.mcsmanager.com/setup.sh | bash" |
手动安装
官方给出的手动安装方法(没测过)
1 | # Create /opt directory if not already |
MCSM的启动和暂停
1 | systemctl start mcsm-{web,daemon} |
MC,启动!
访问23333端口,即为MCSM的面板,自己注册一个账号。
注意:这个账号只能在这时注册一次,一旦注册成功,其用户名和密码将无法再修改!所以一定要记住账号密码!
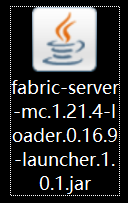
先在fabric的官网上下载一个服务端的核心
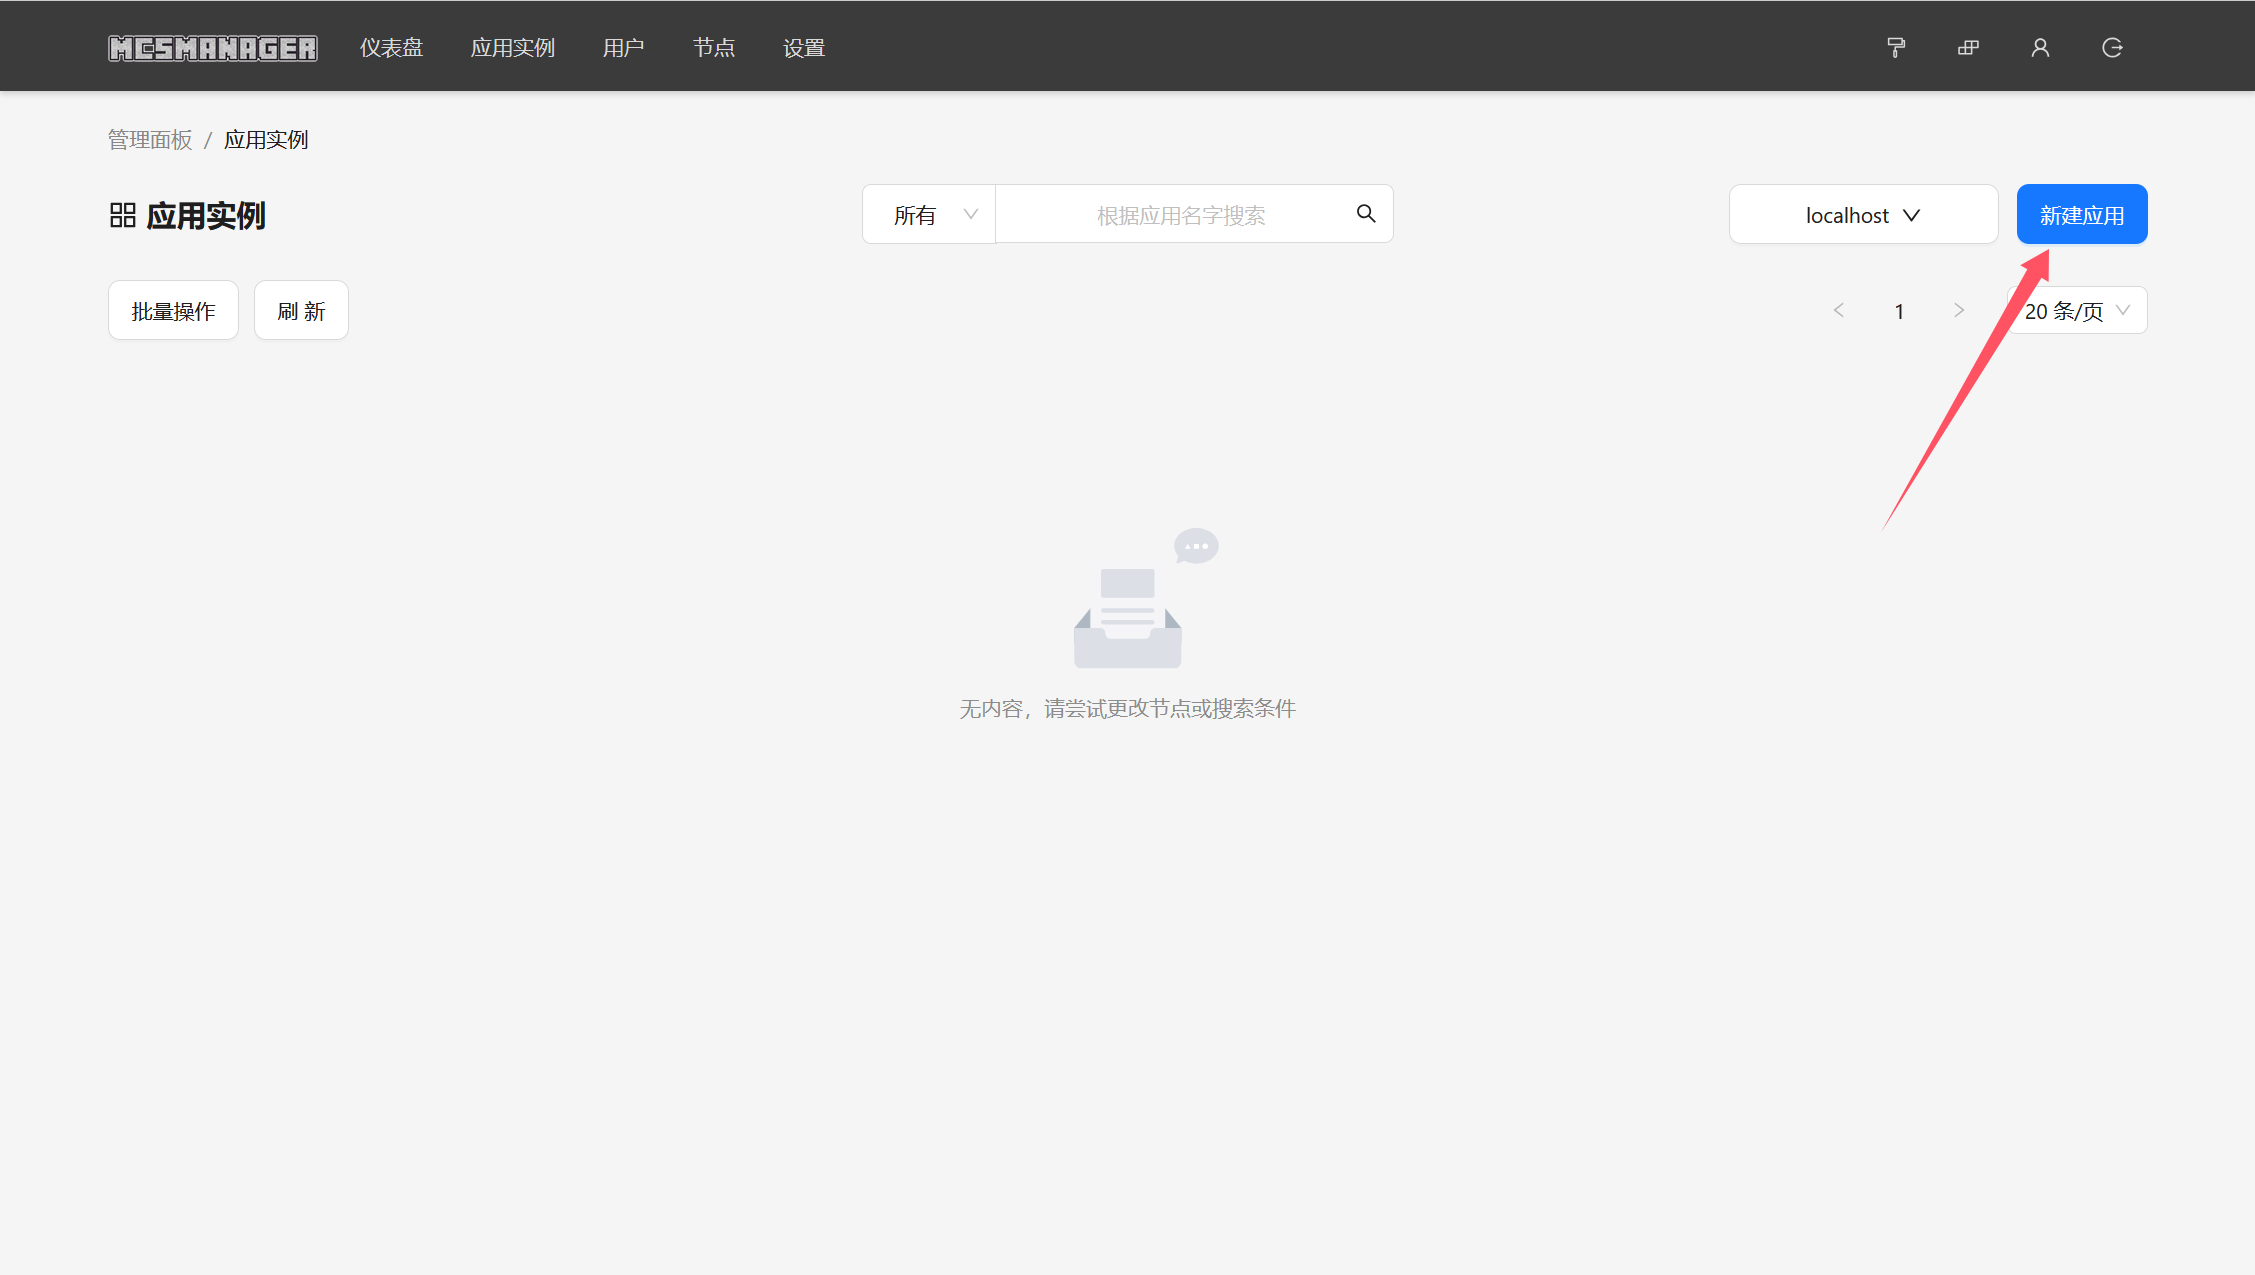
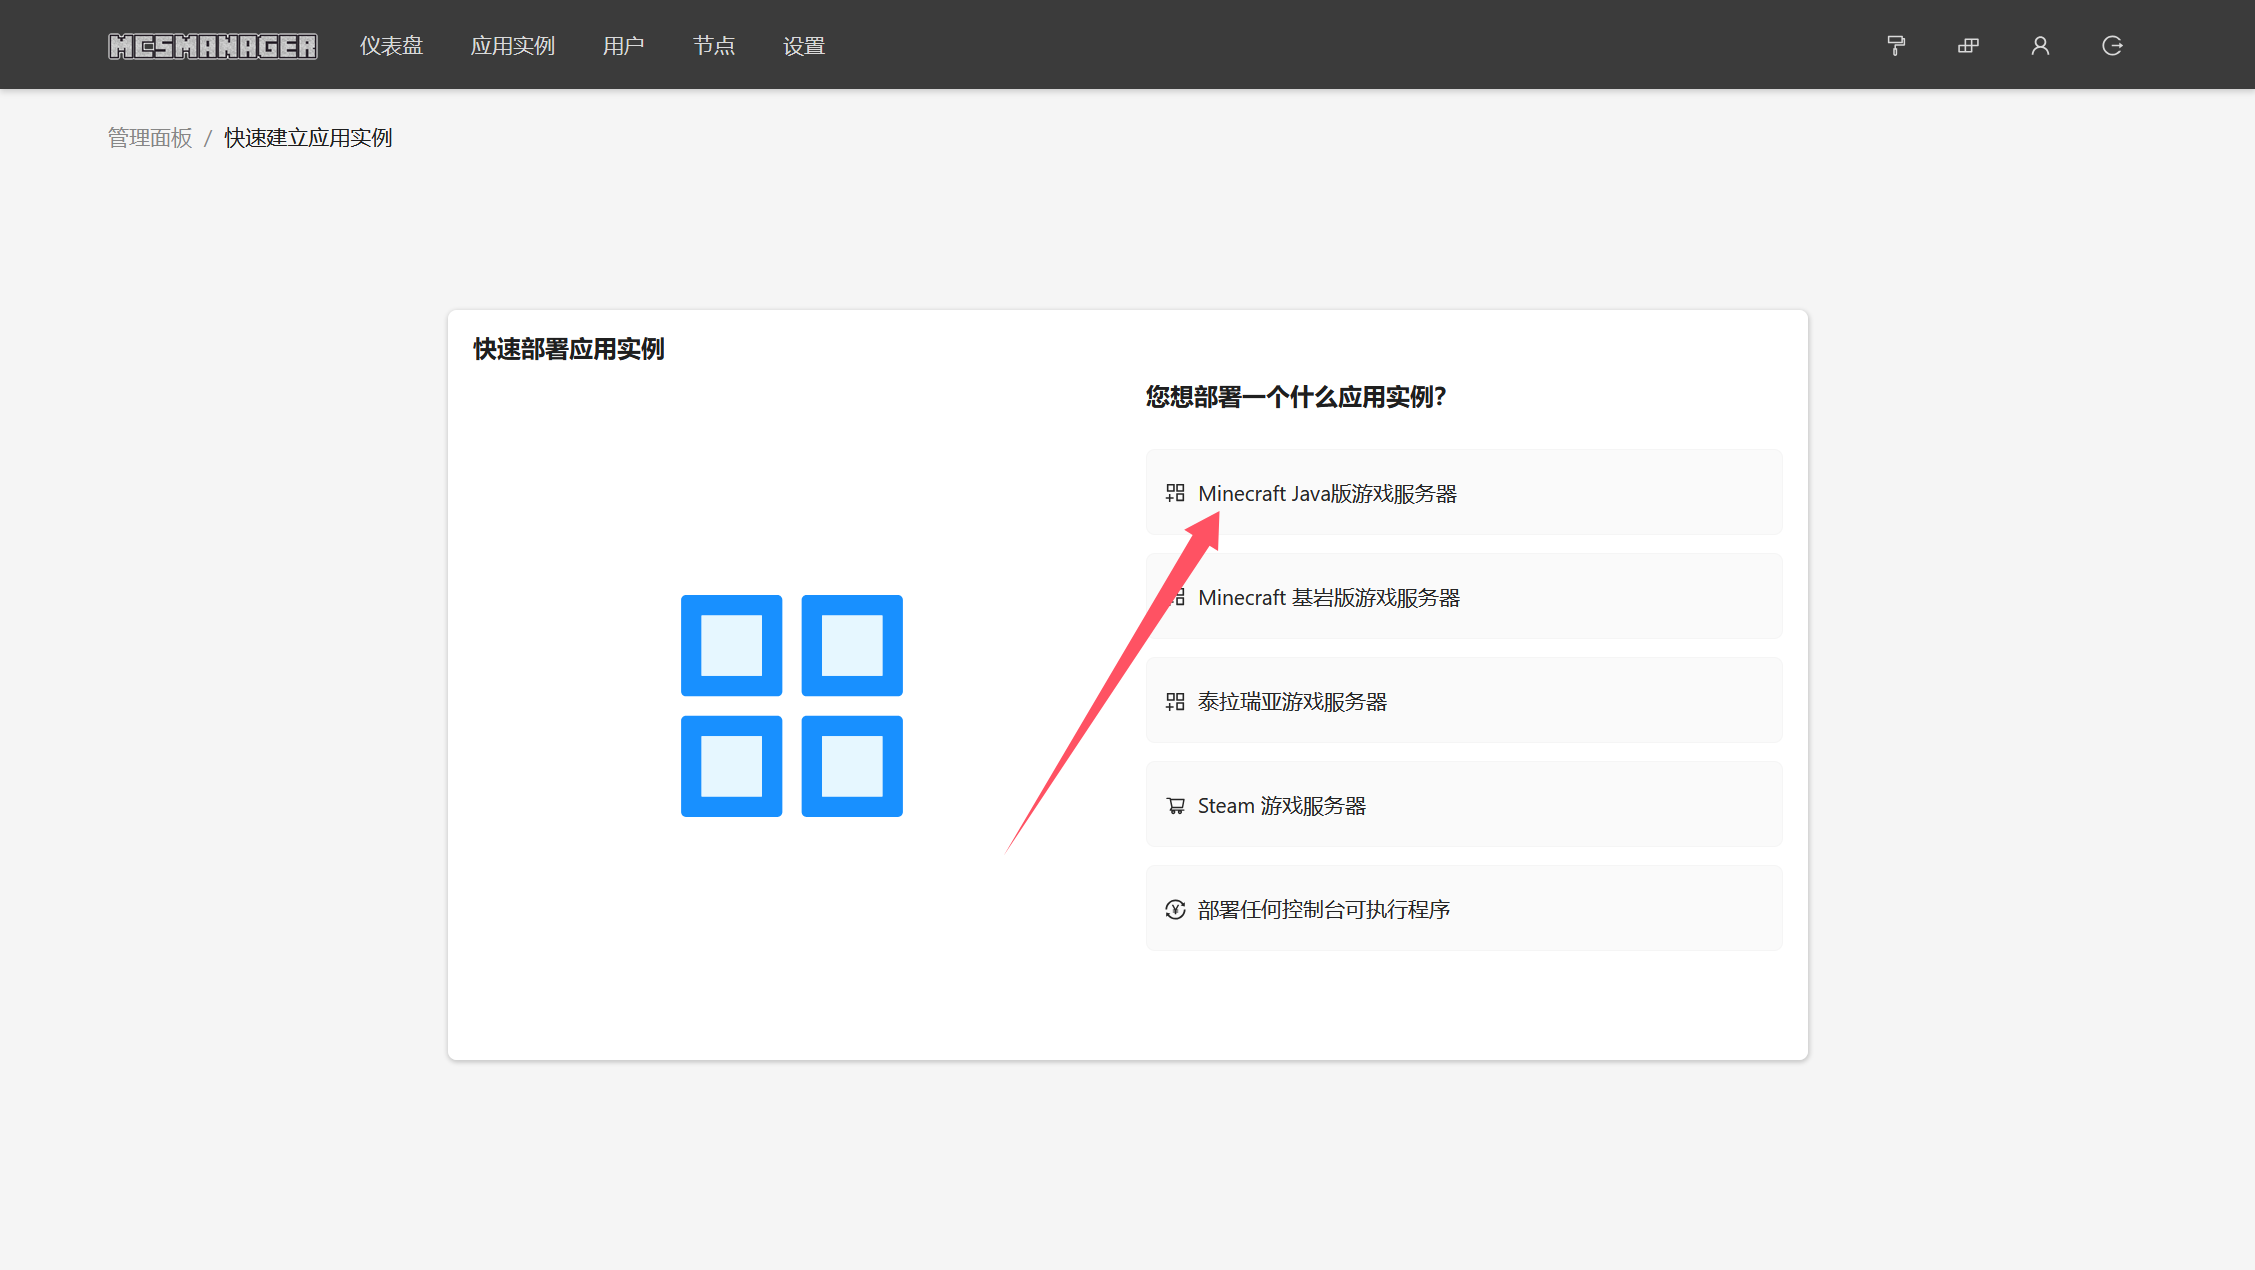
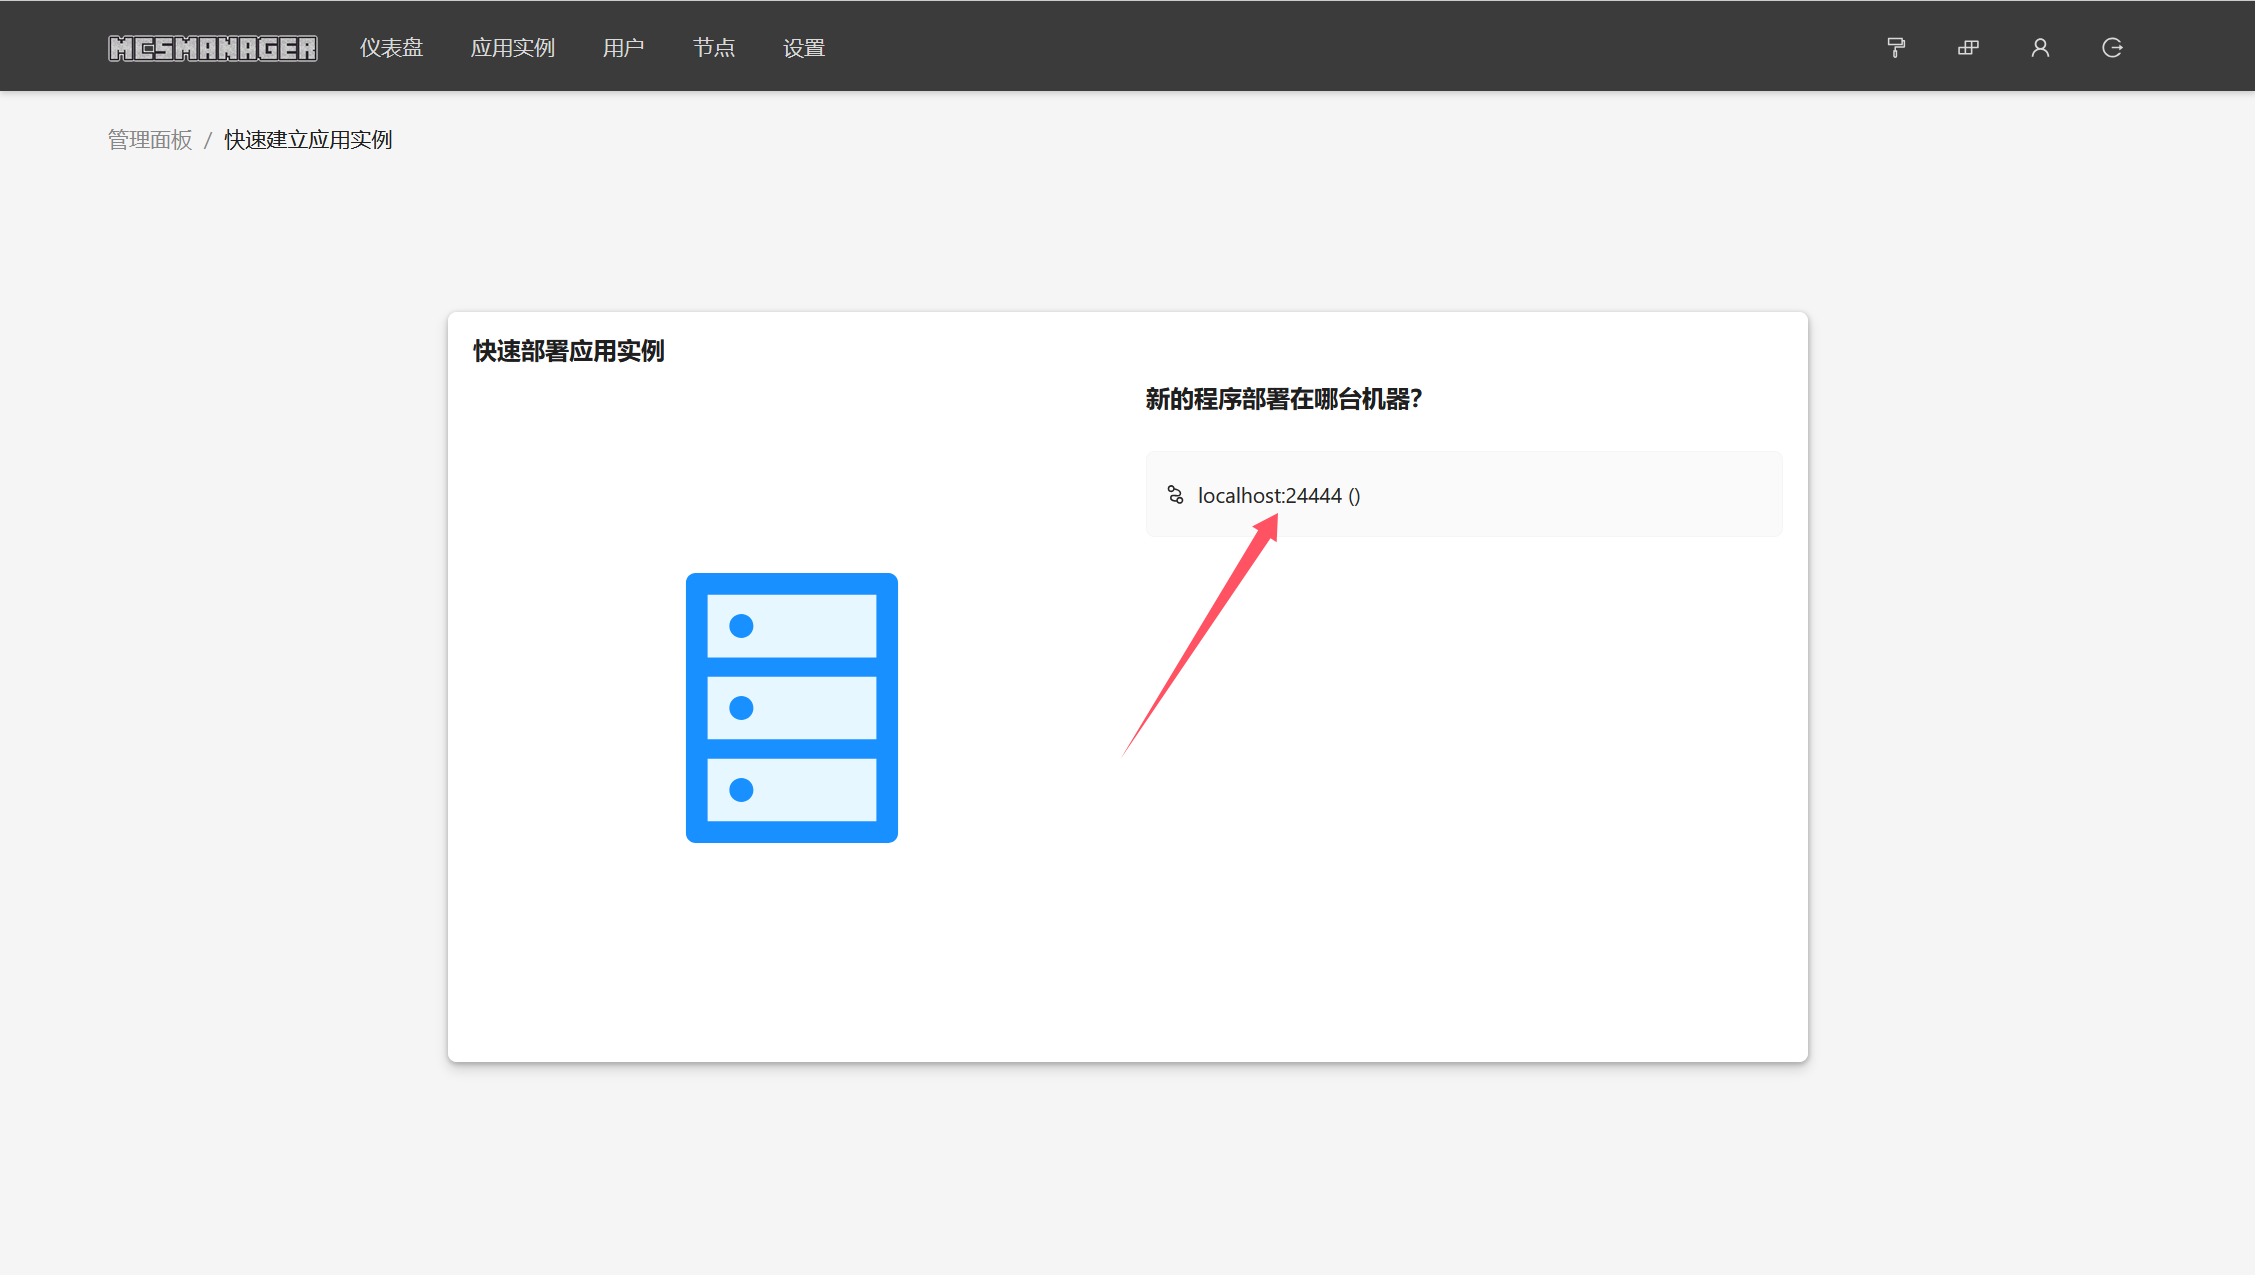
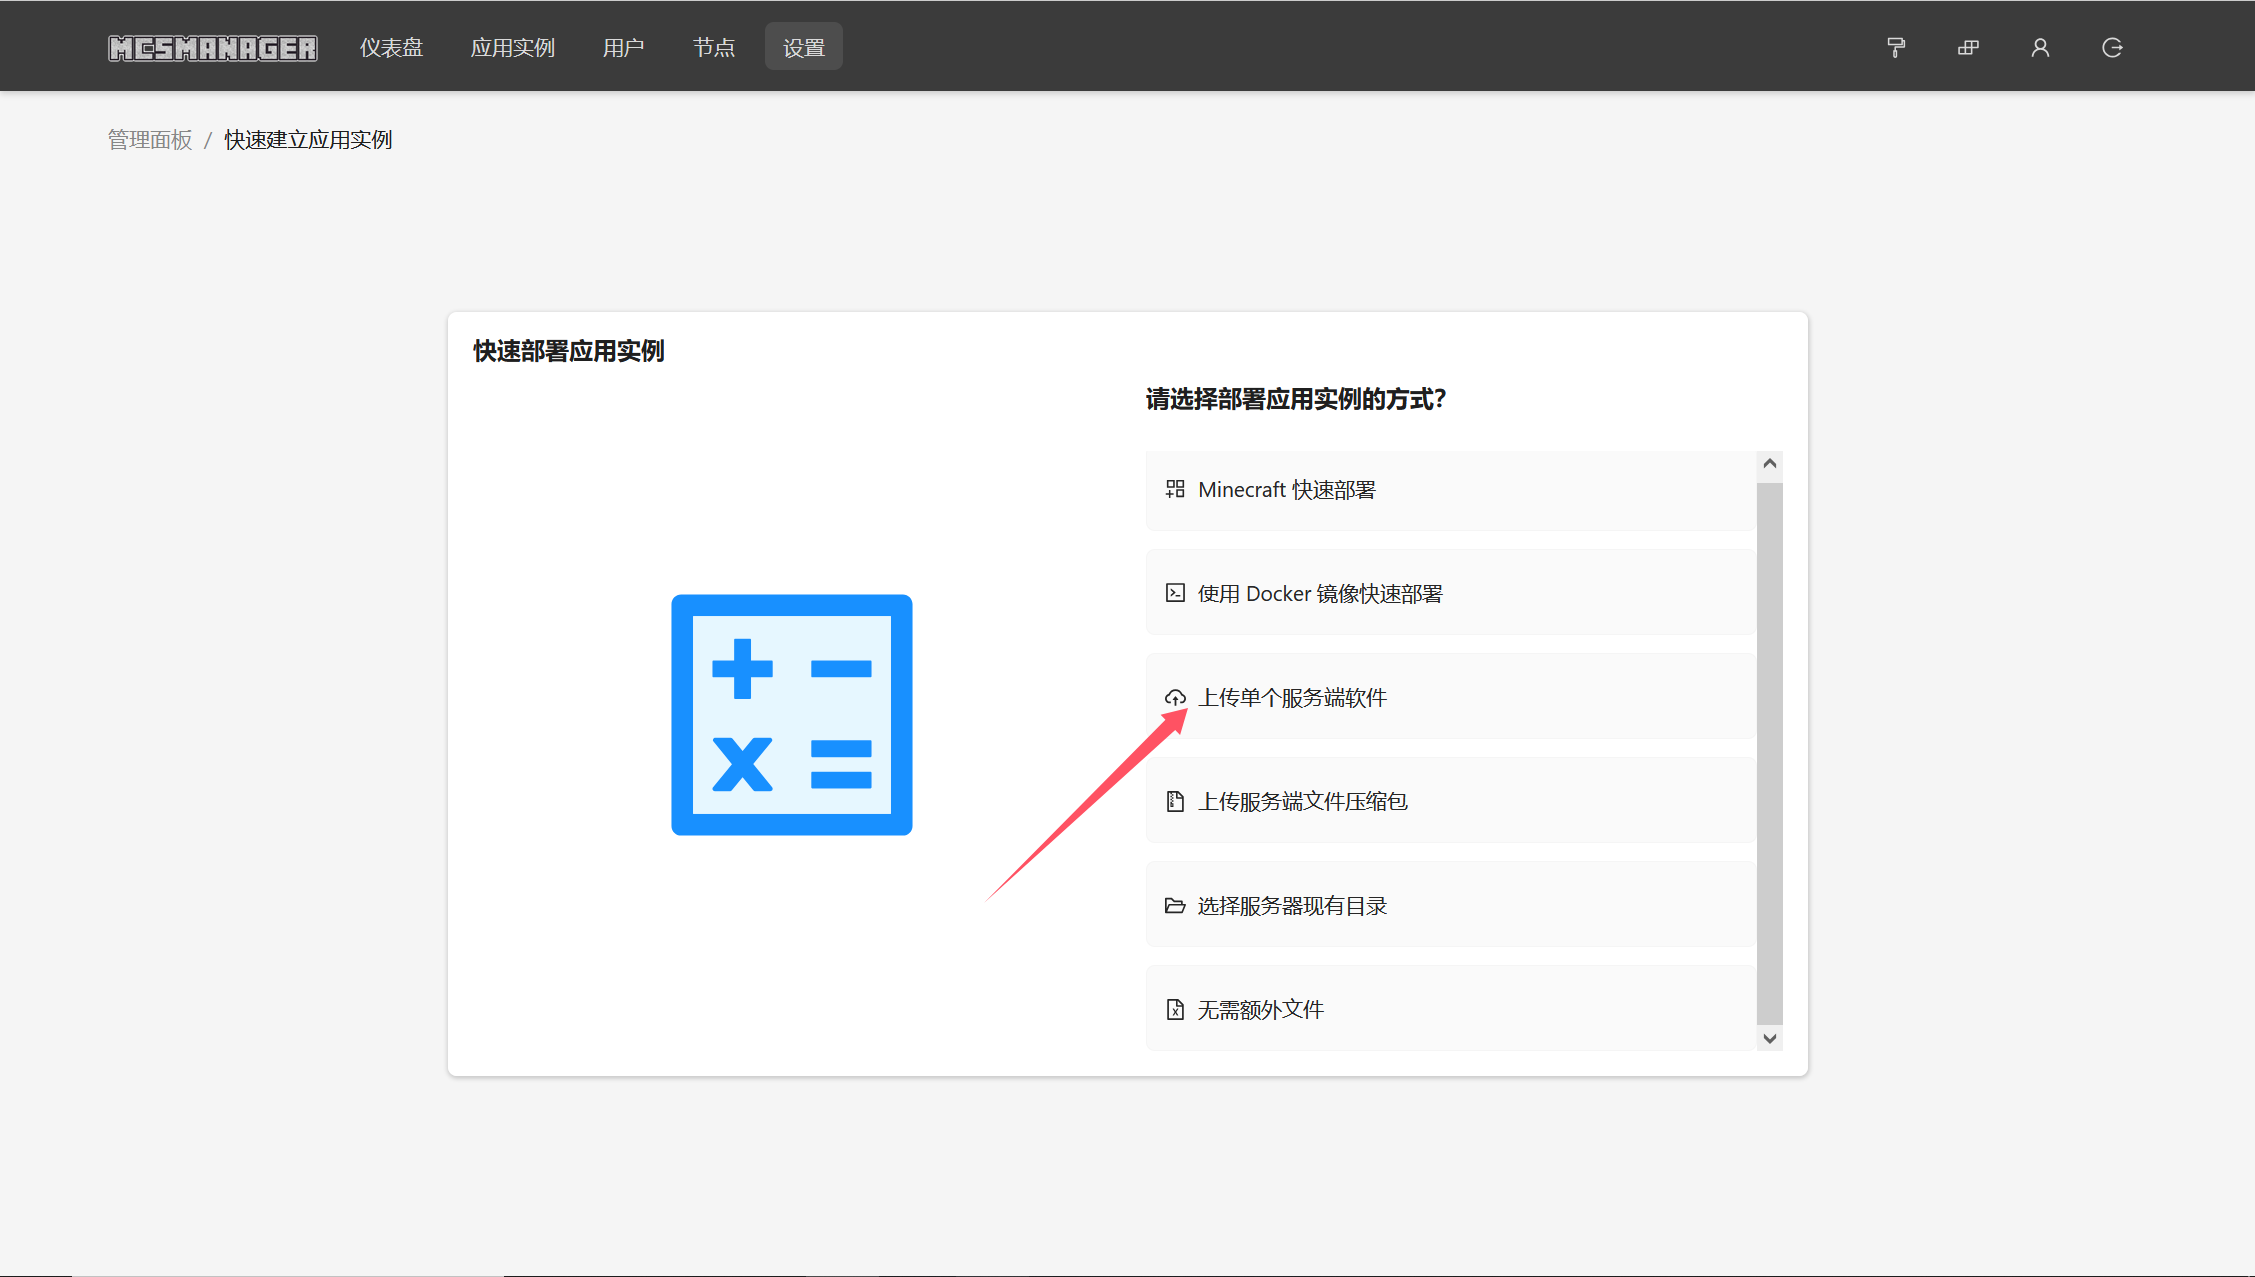
接下来就是在面板上创建一个实例
这里的启动命令我填写的是
1 | java -Xmx12G -server -Dfile.encoding=UTF-8 -Duser.language=zh -Duser.country=CN -jar ${ProgramName} |
这里的-Xmx12G表示内存限制最大为12G,填写这个的时候根据自己的服务器实际情况来,比服务器内存小一点就行。剩下的-Dfile.encoding=UTF-8表示编码定义为UTF-8,-Duser.language=zh表示语言为中文,-Duser.country=CN表示国家为中国,防止后面出现乱码的问题。
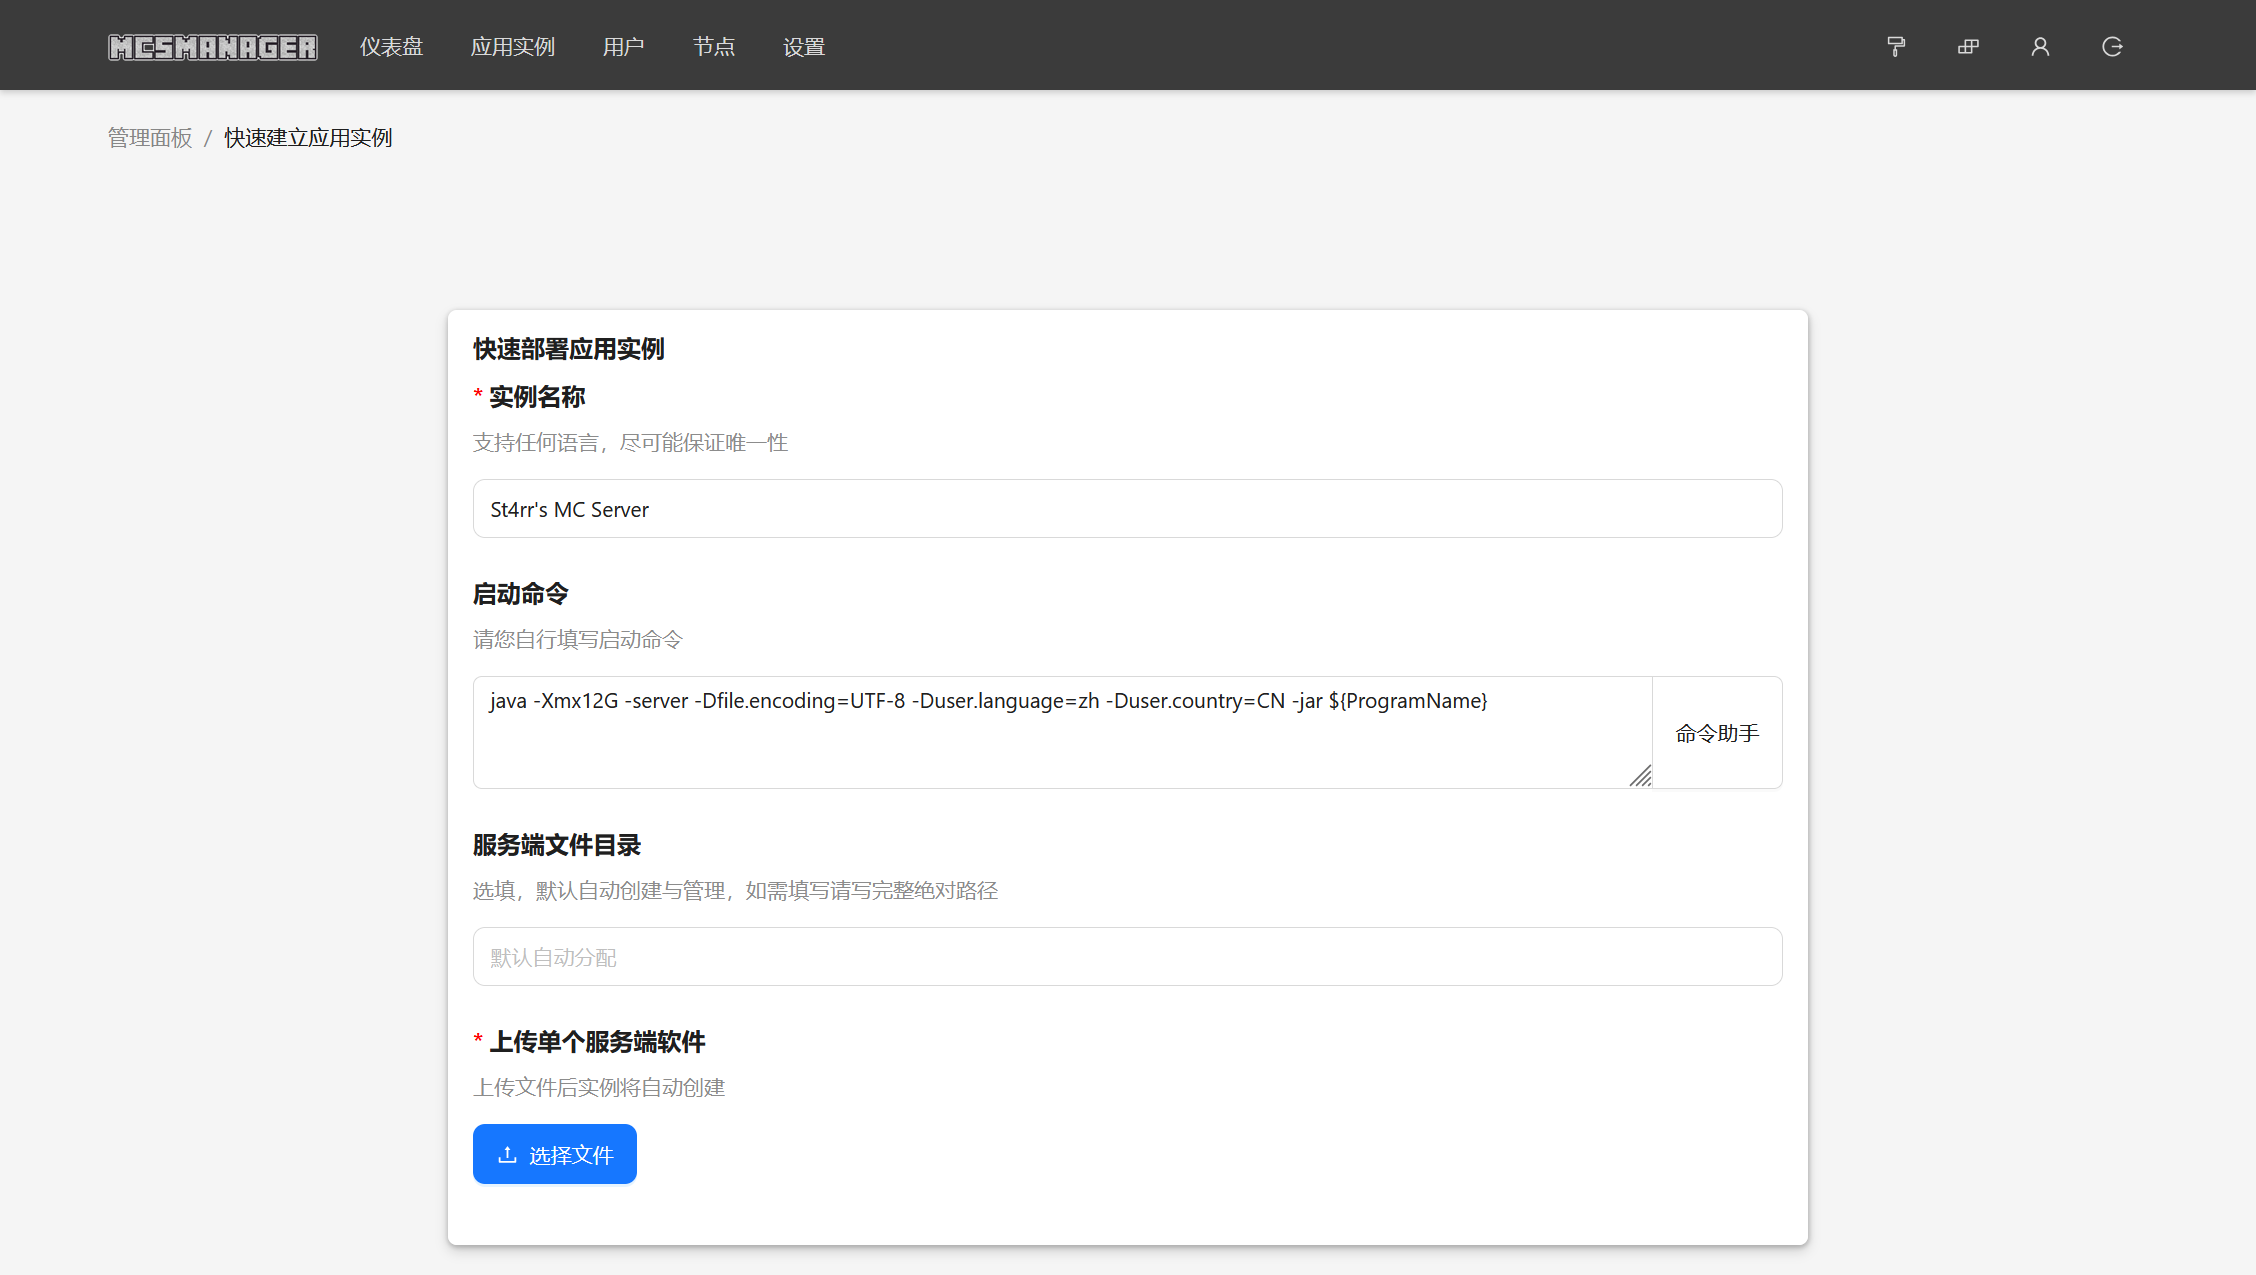
接下来在选择文件中上传我们刚刚下载的服务端核心,上传成功实例就会启动。
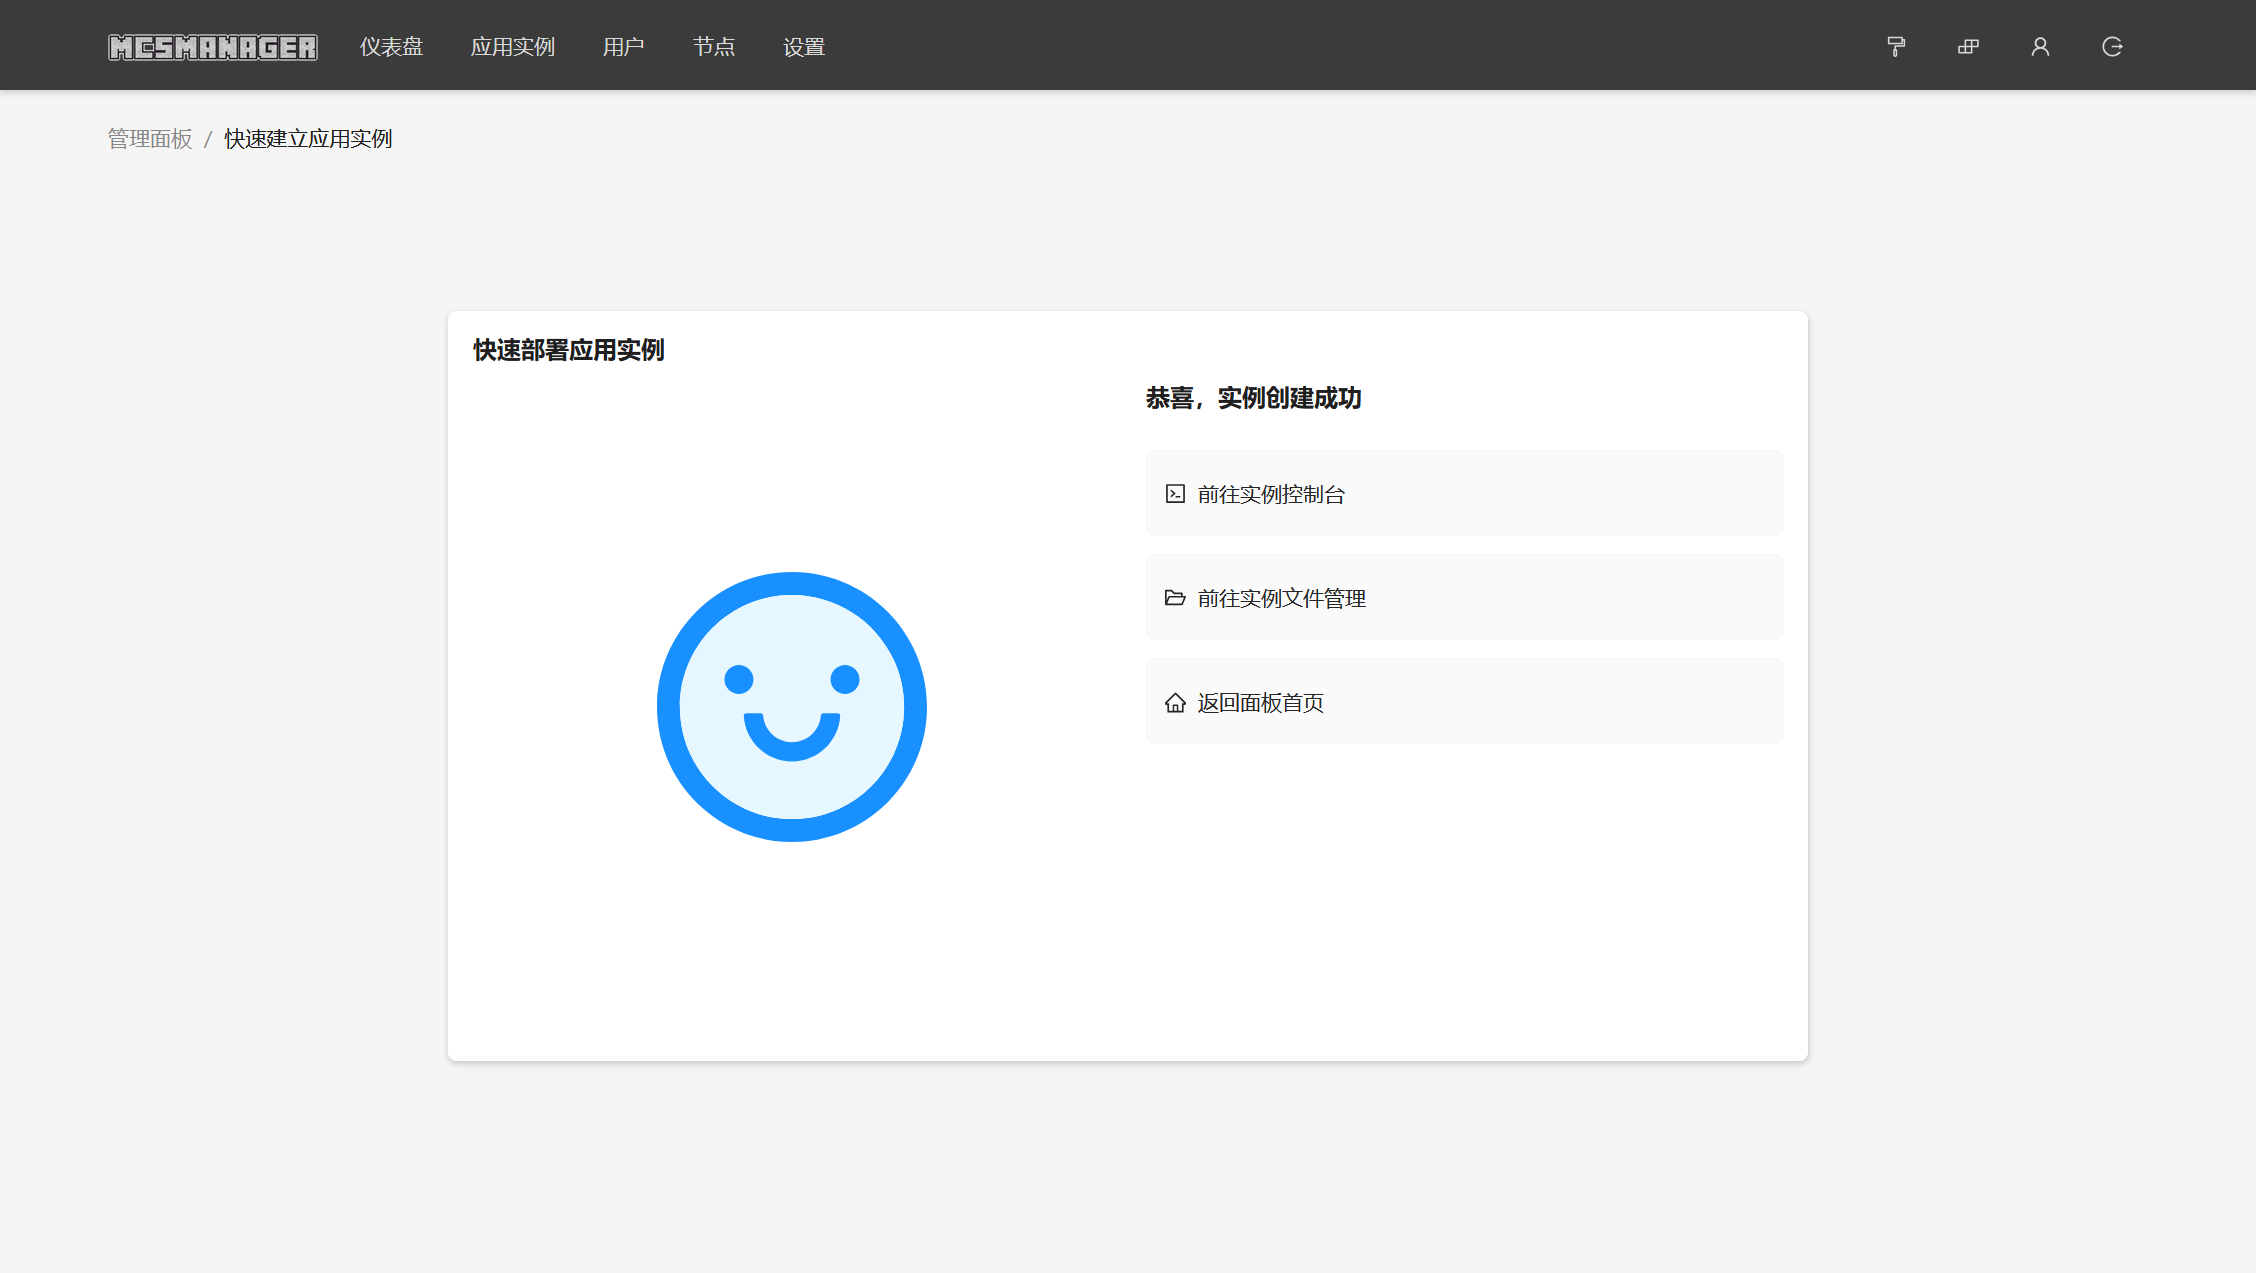
接下来点击前往实例控制台,然后点击开启,等待下载一些配置,看到下面的输出即为安装成功
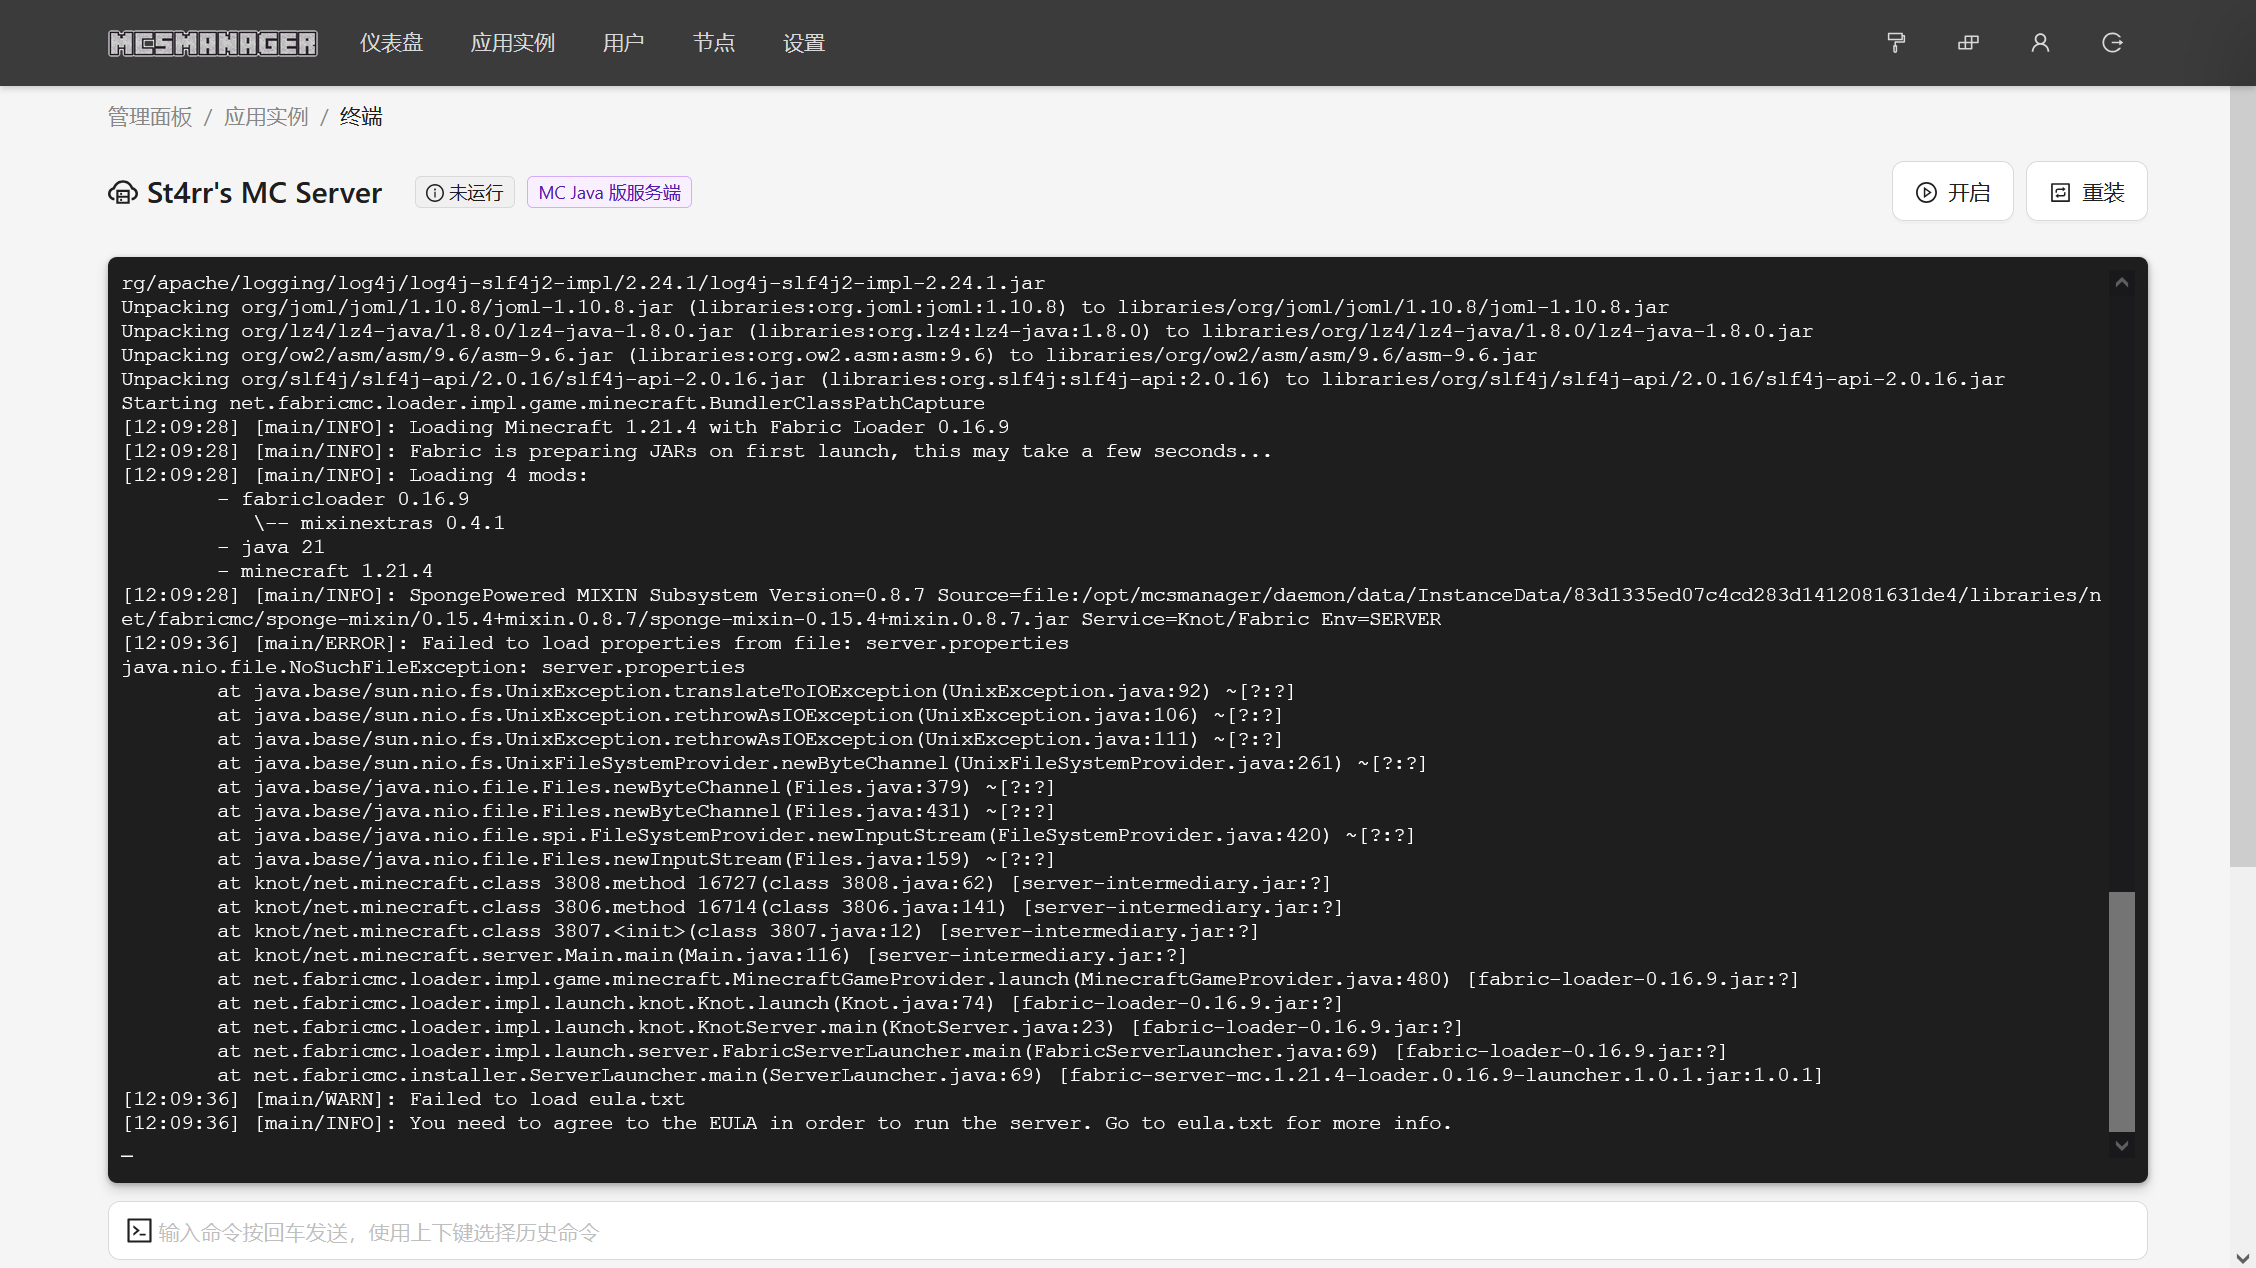
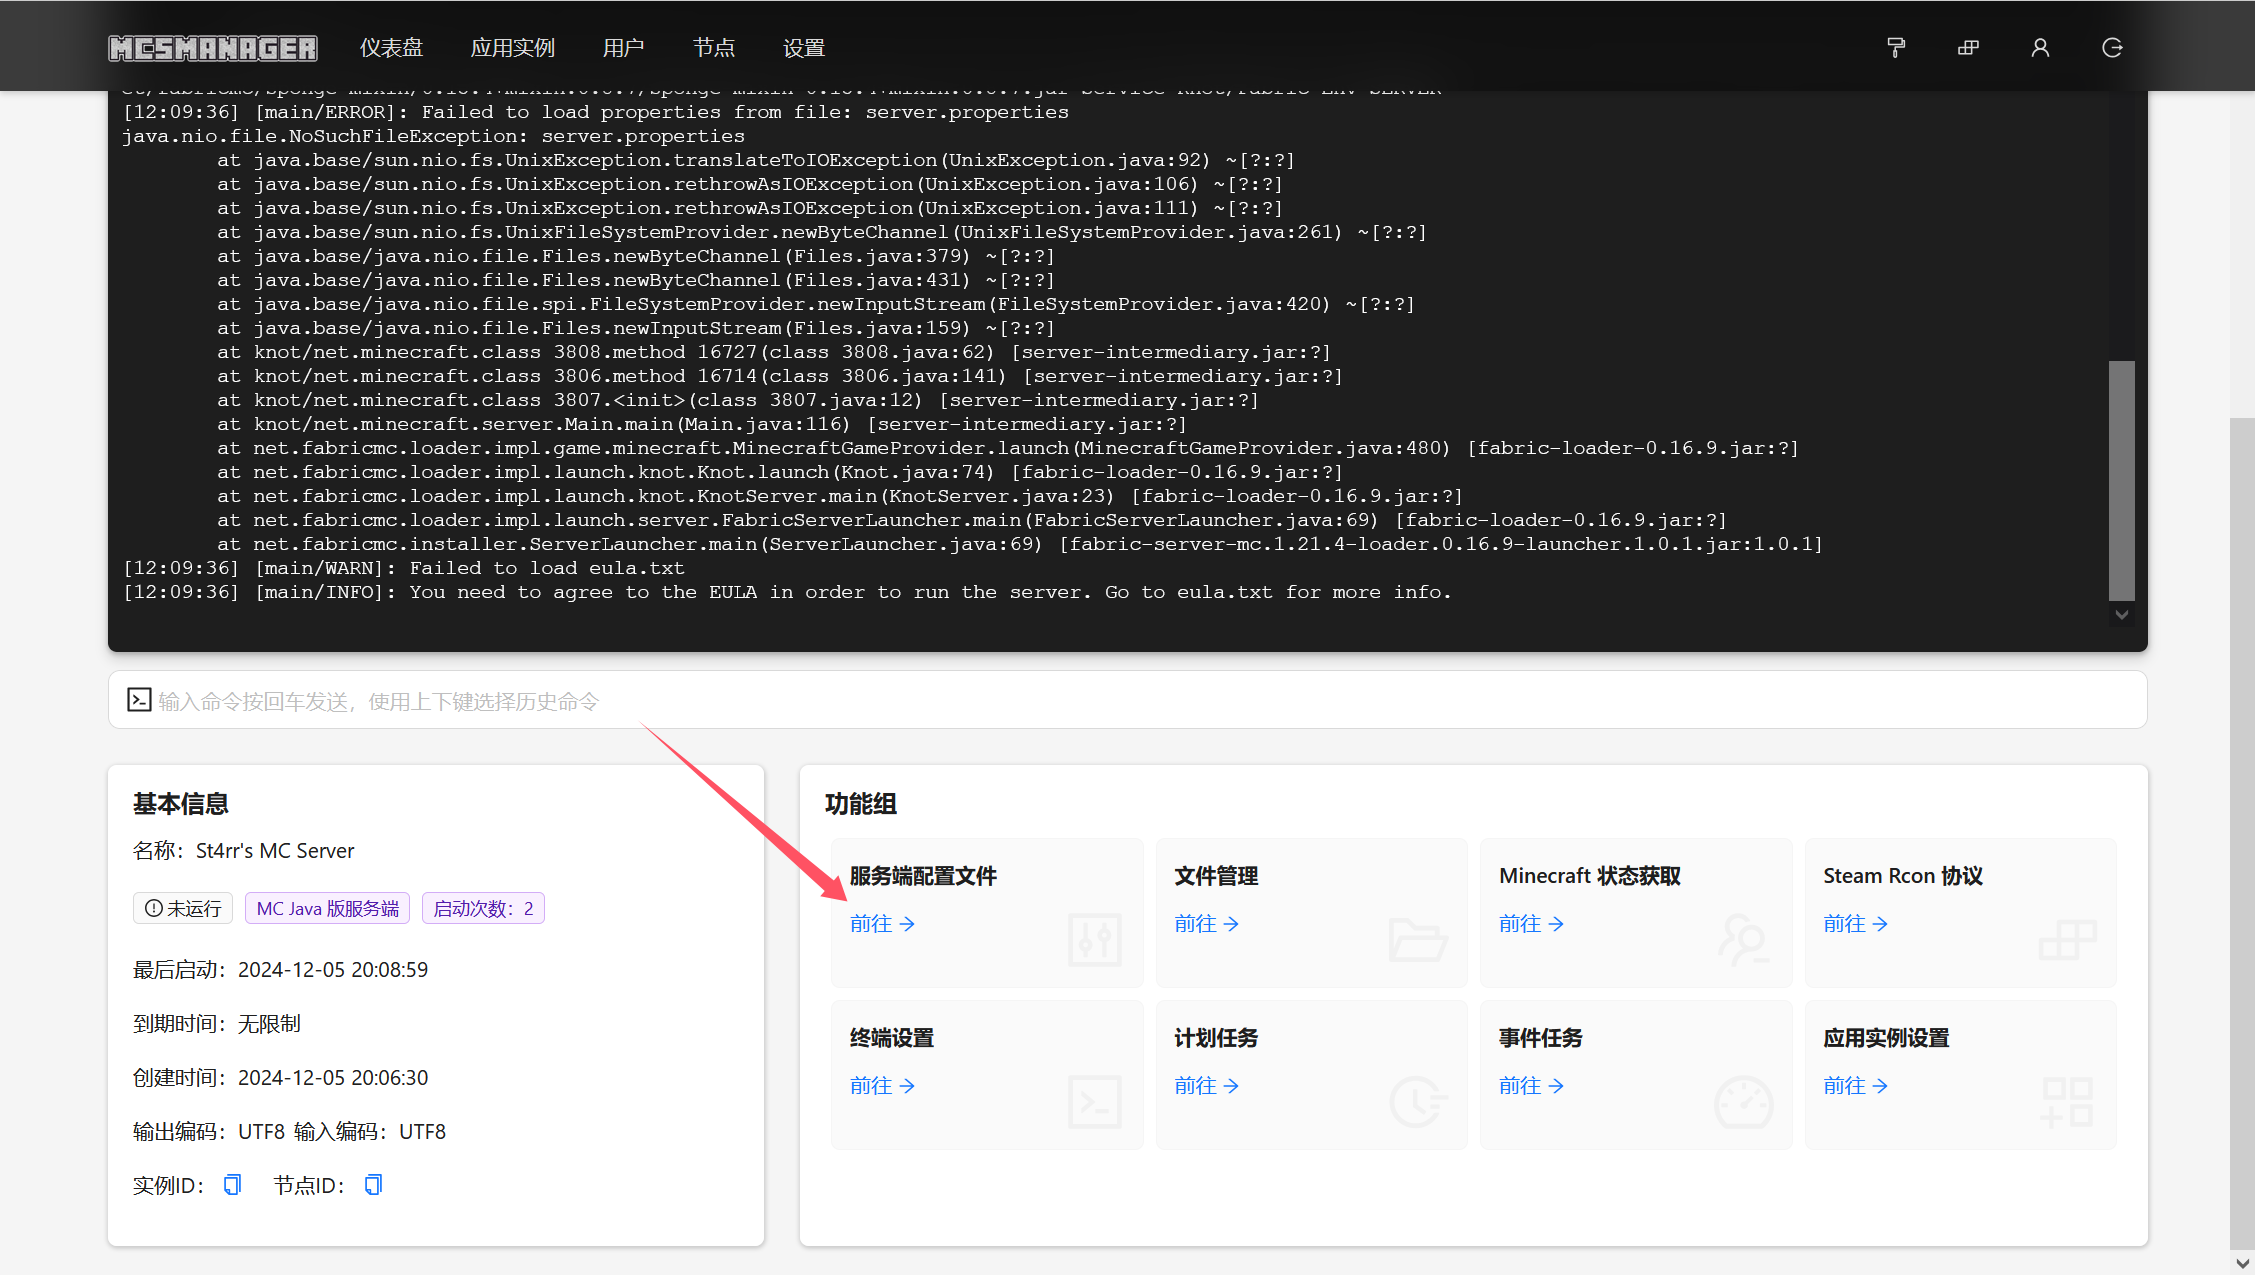
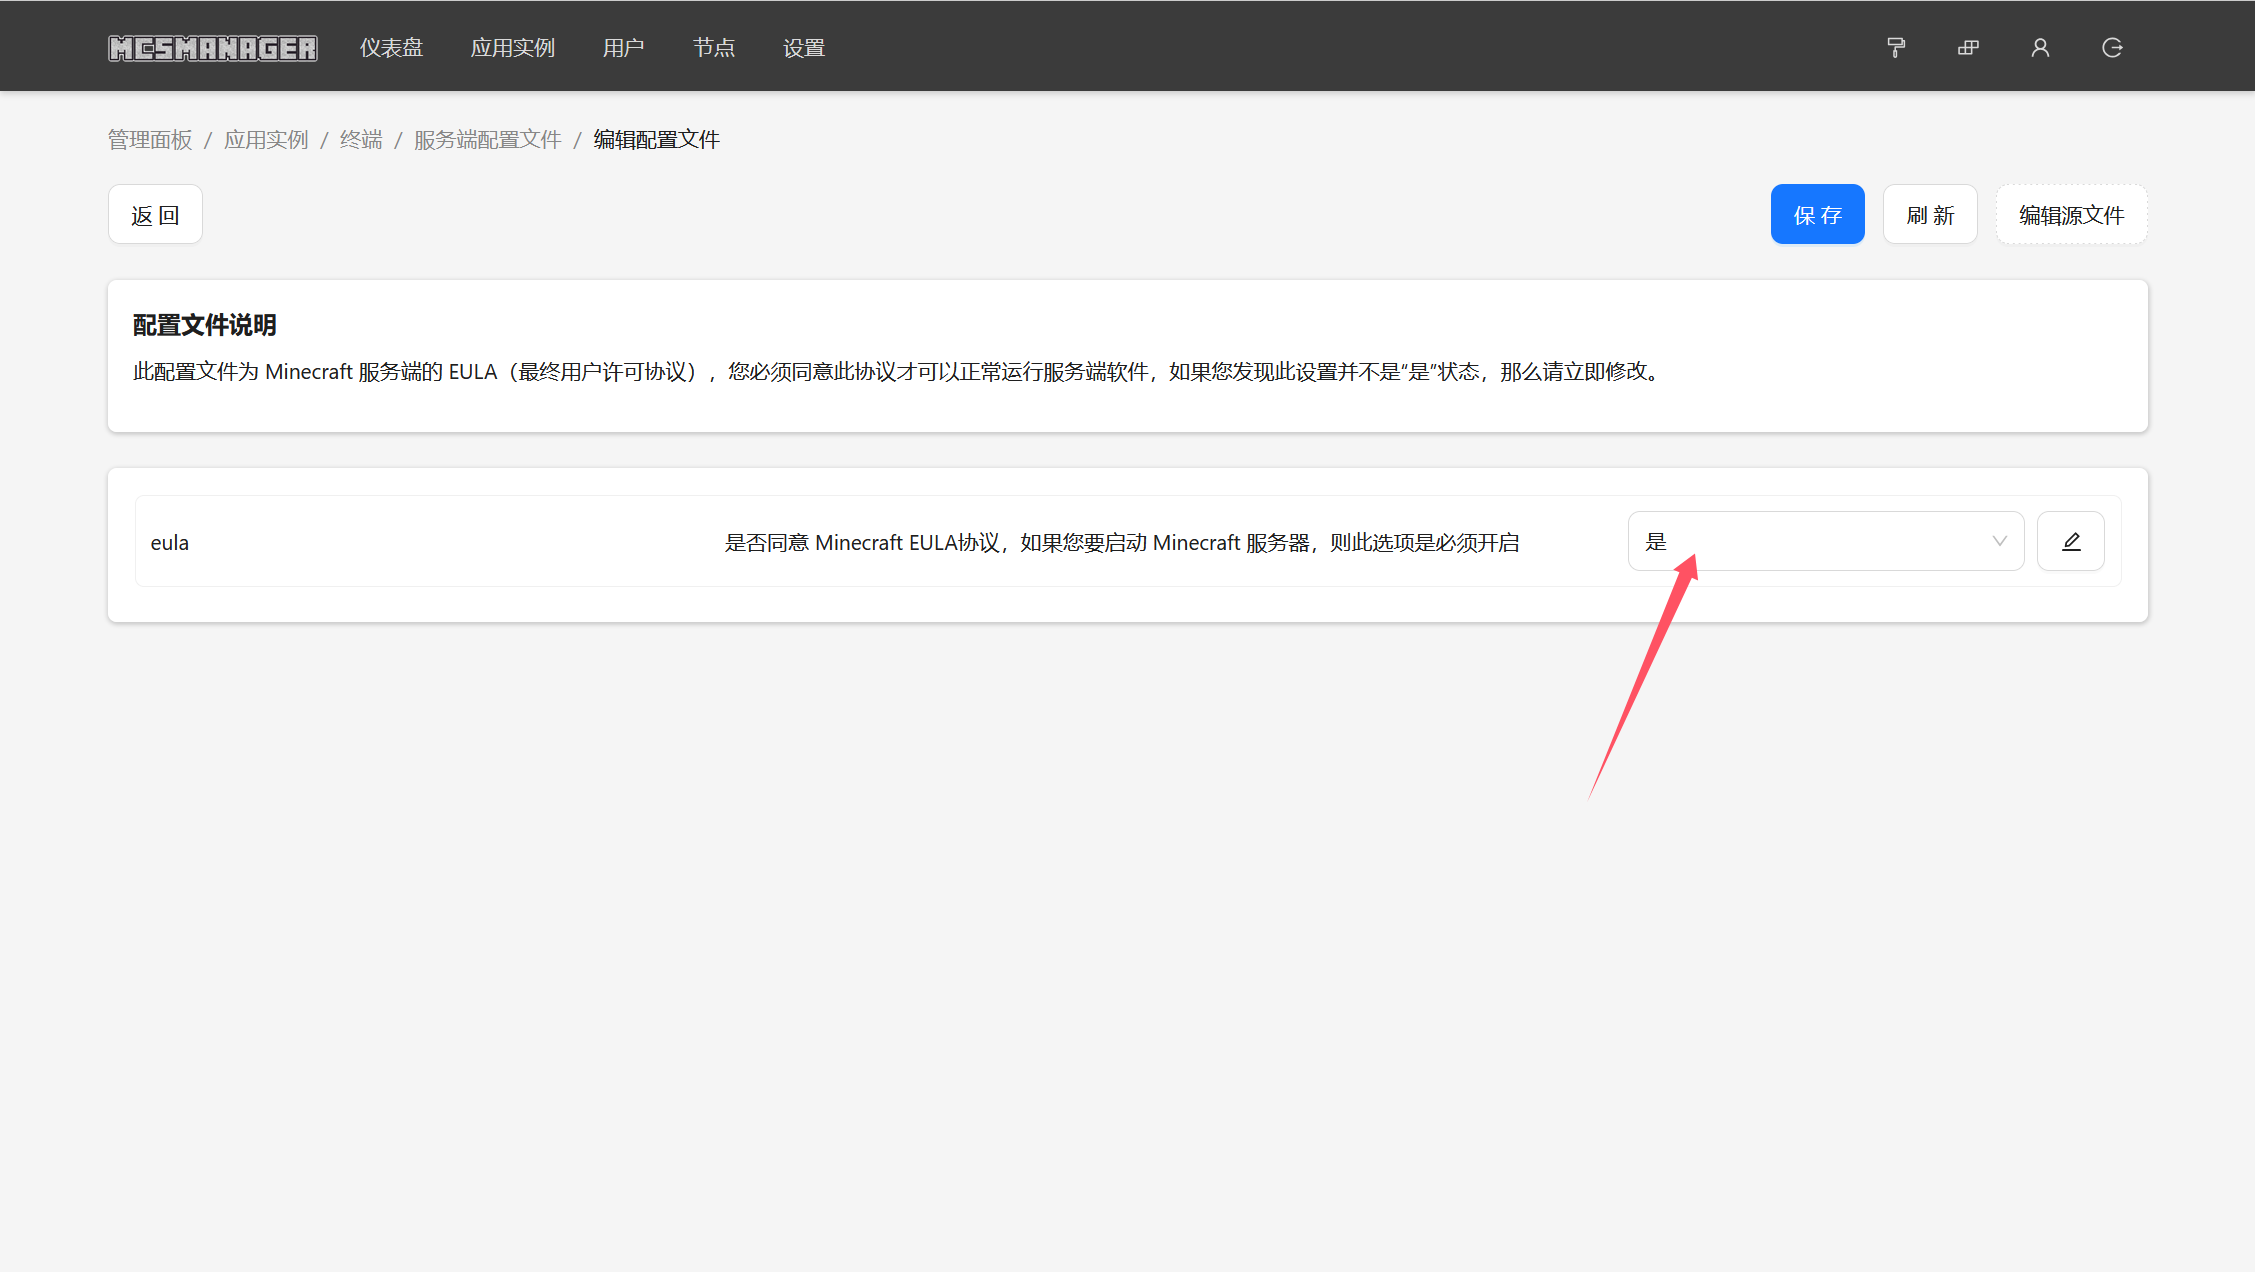
看到说Failed to load eula.txt,往下翻,点击服务端配置文件
编辑eula.txt
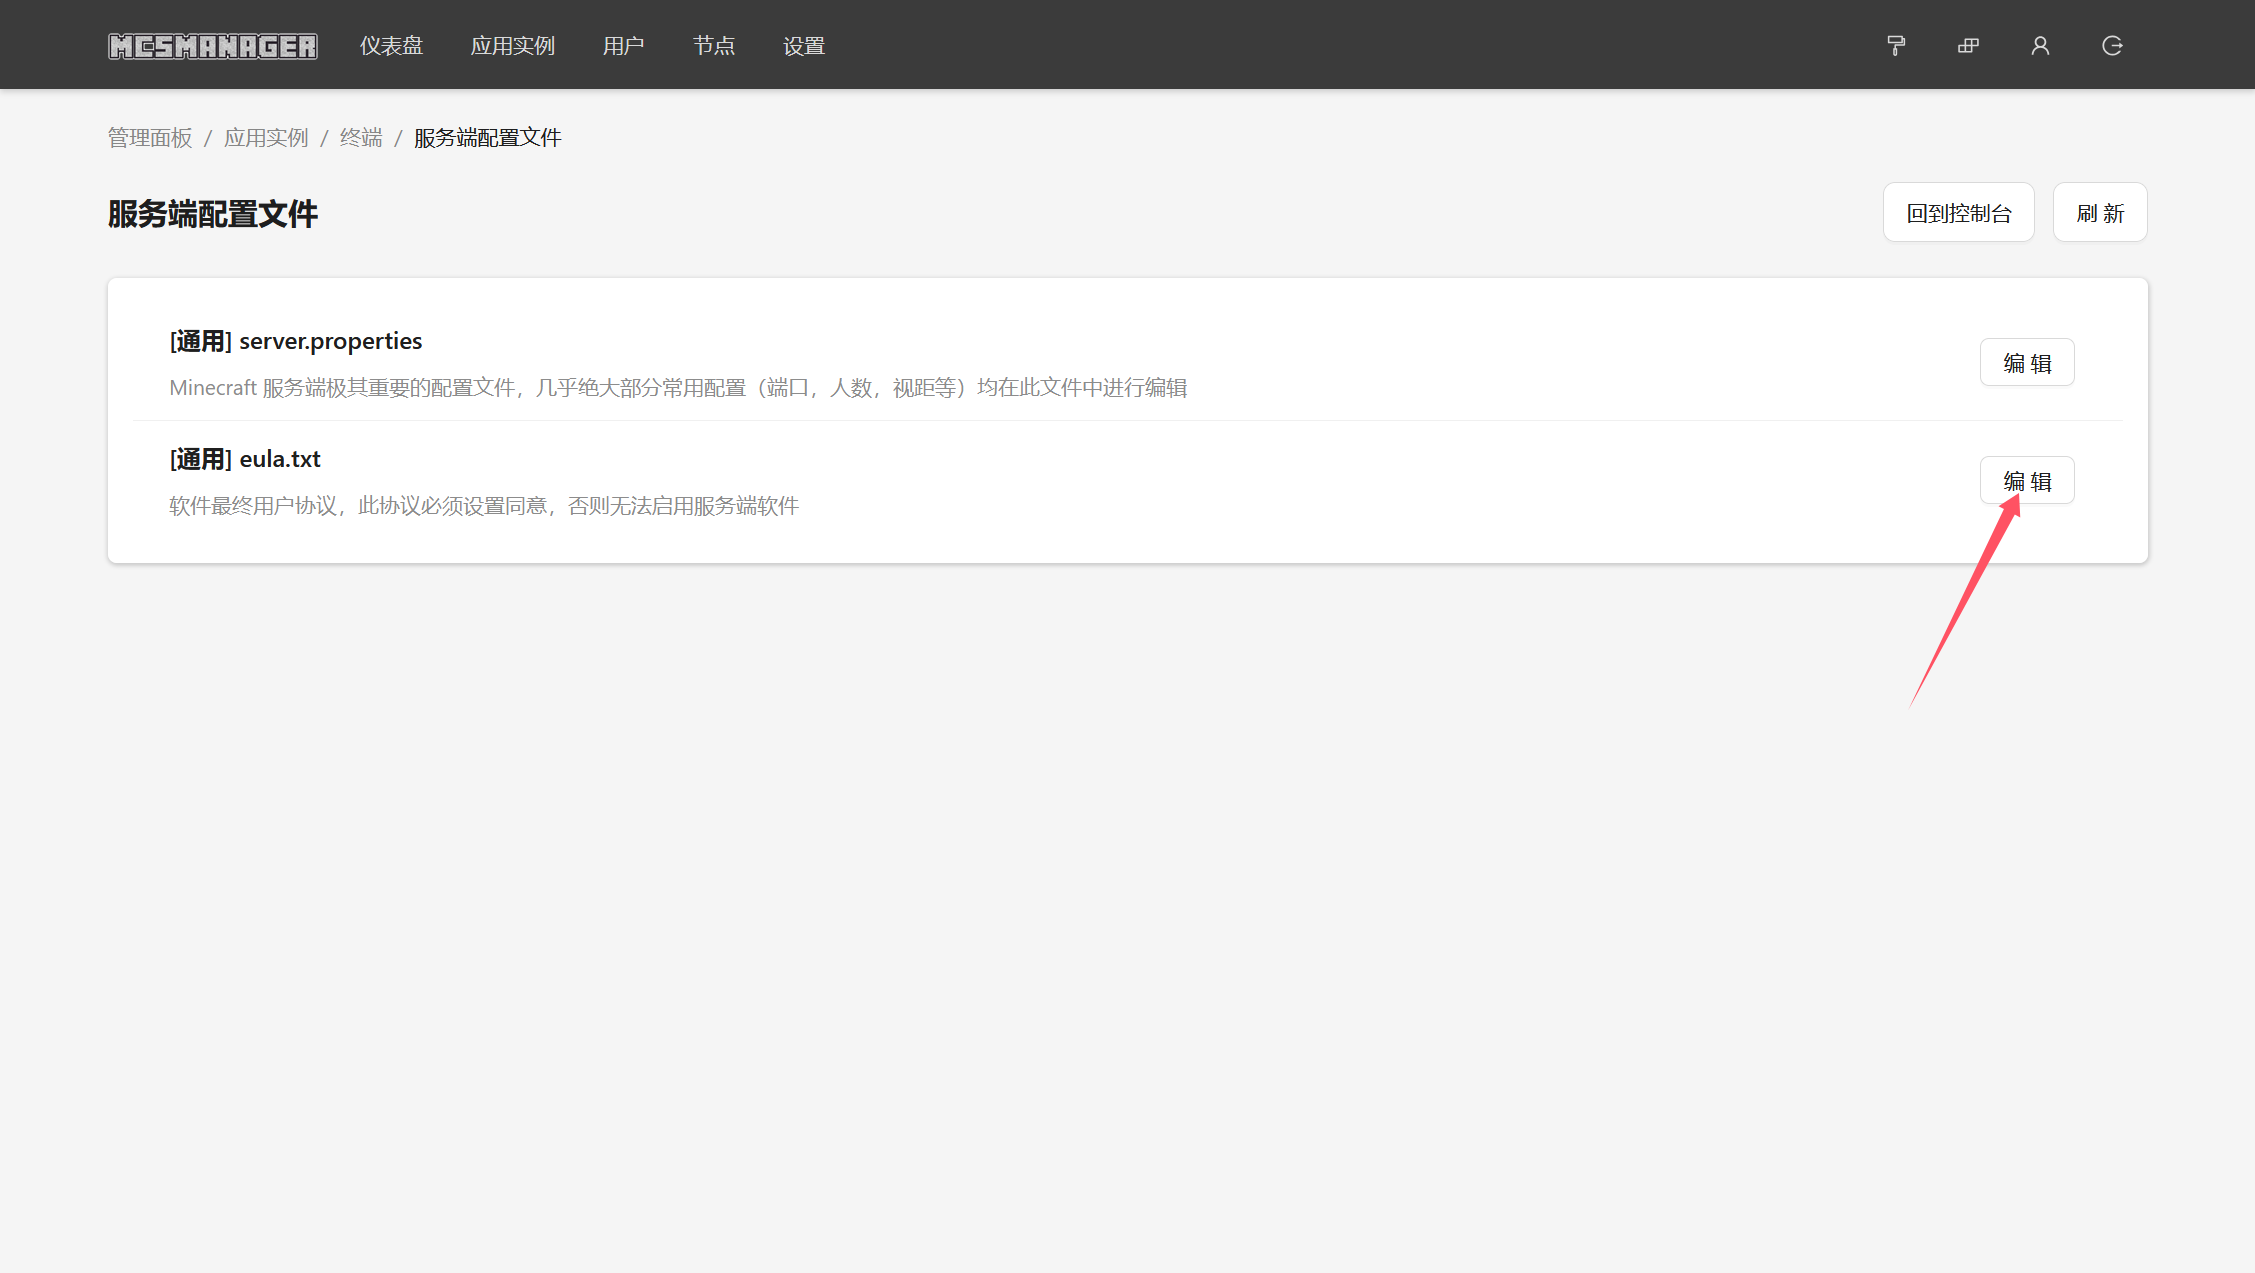
改为是以后点击保存
回到终端,再一次点击开启,看到一下输出即为启动成功
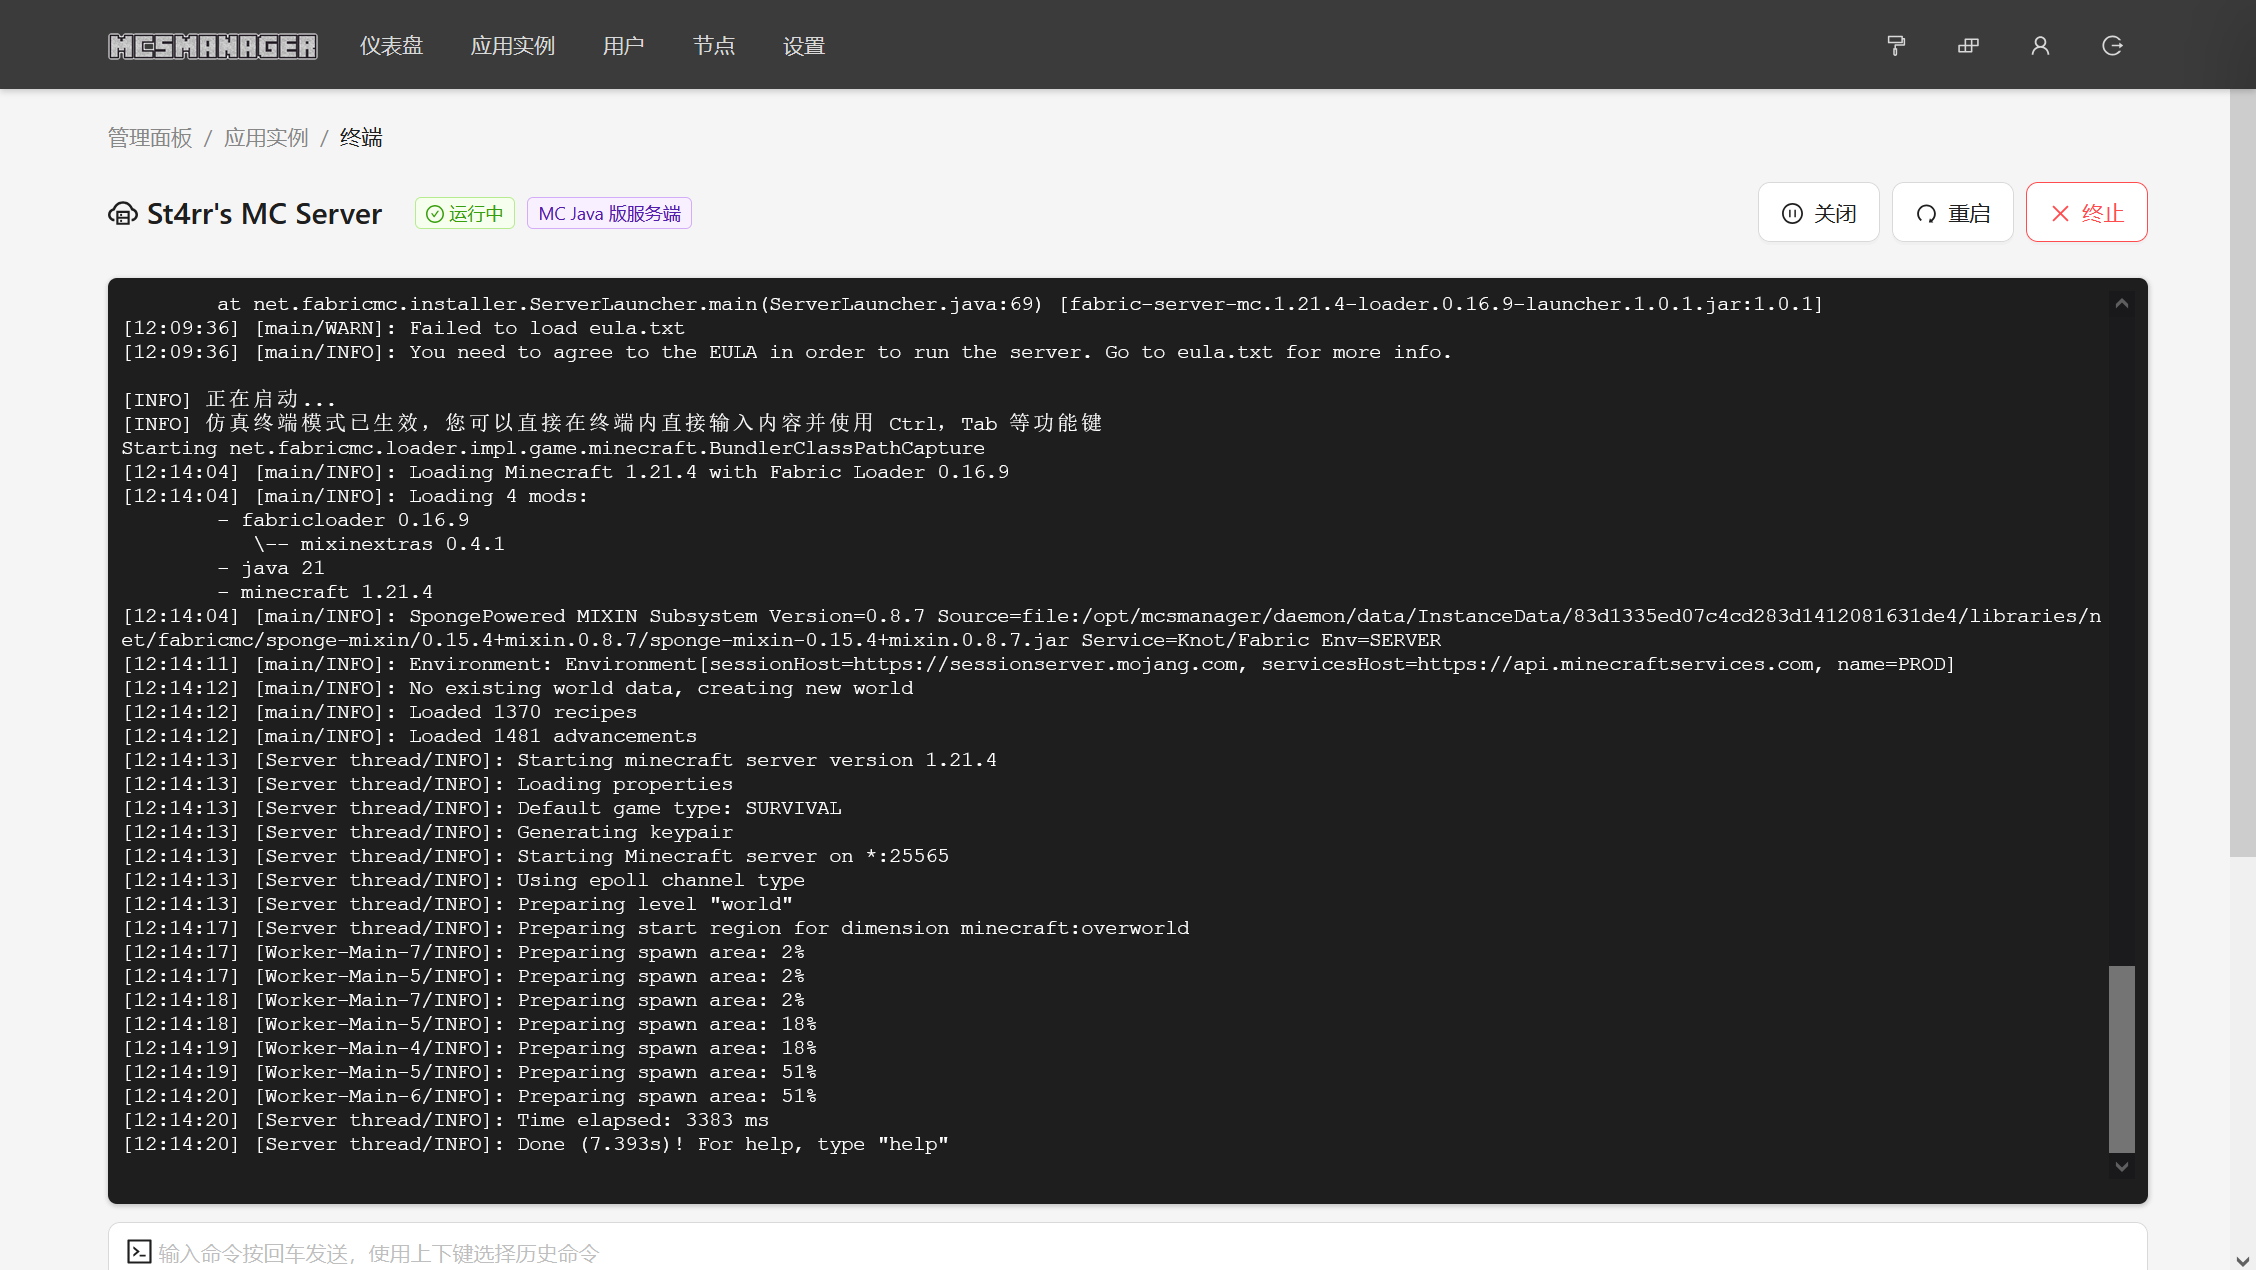
至此,MC服务器已初步搭建完毕。
一些更多的配置
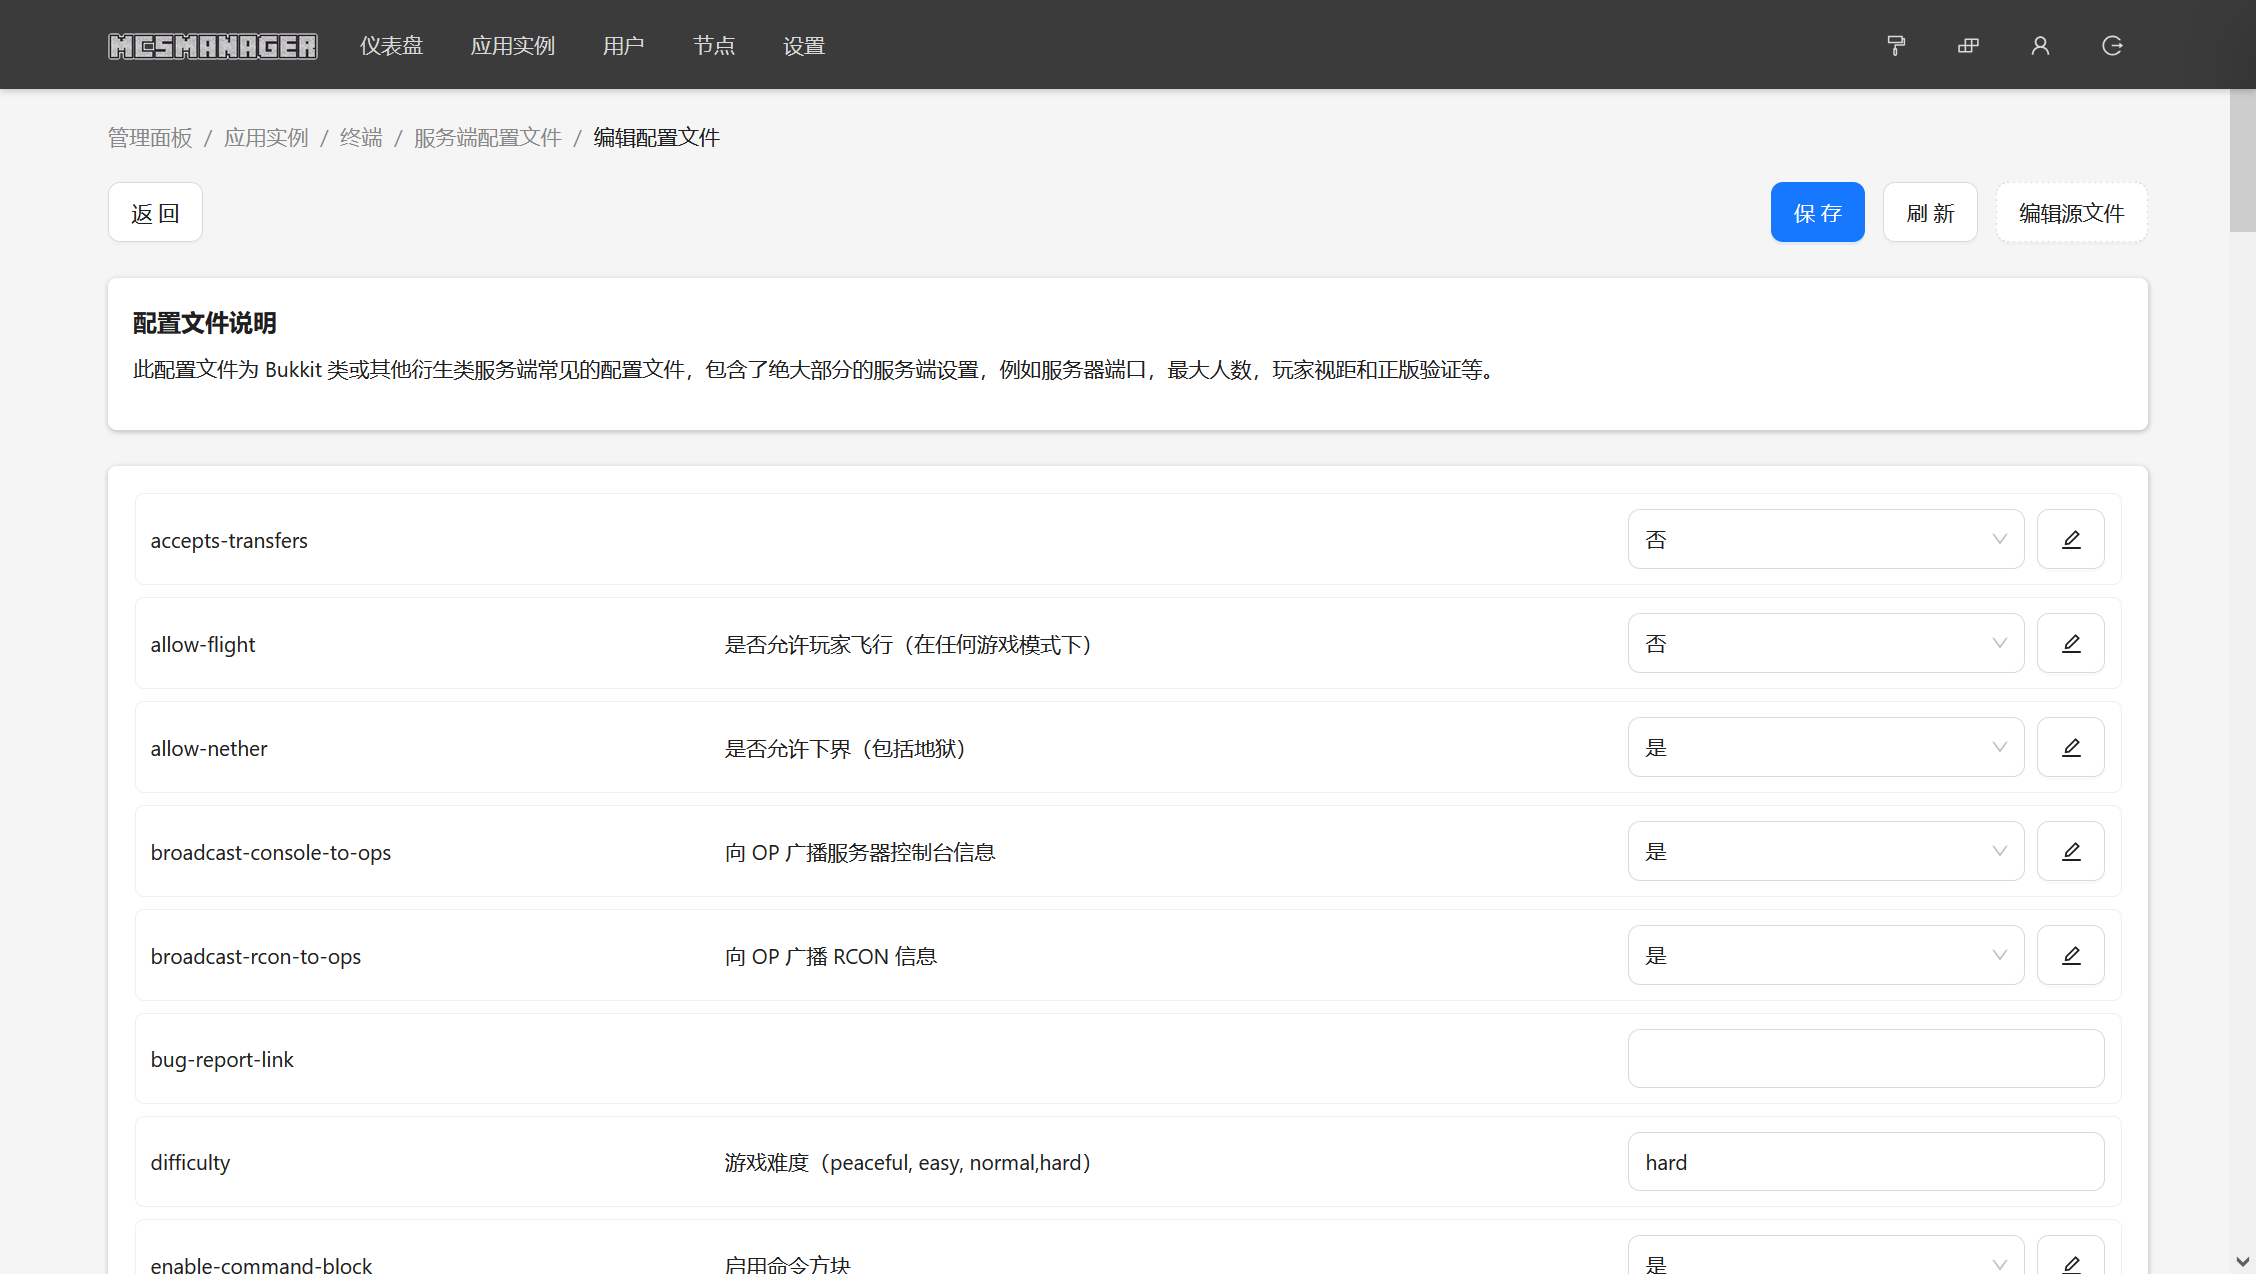
server.properties
还是选择服务端配置文件,编辑server.properties
里面的标注其实已经很清楚了,照着按需求改就行
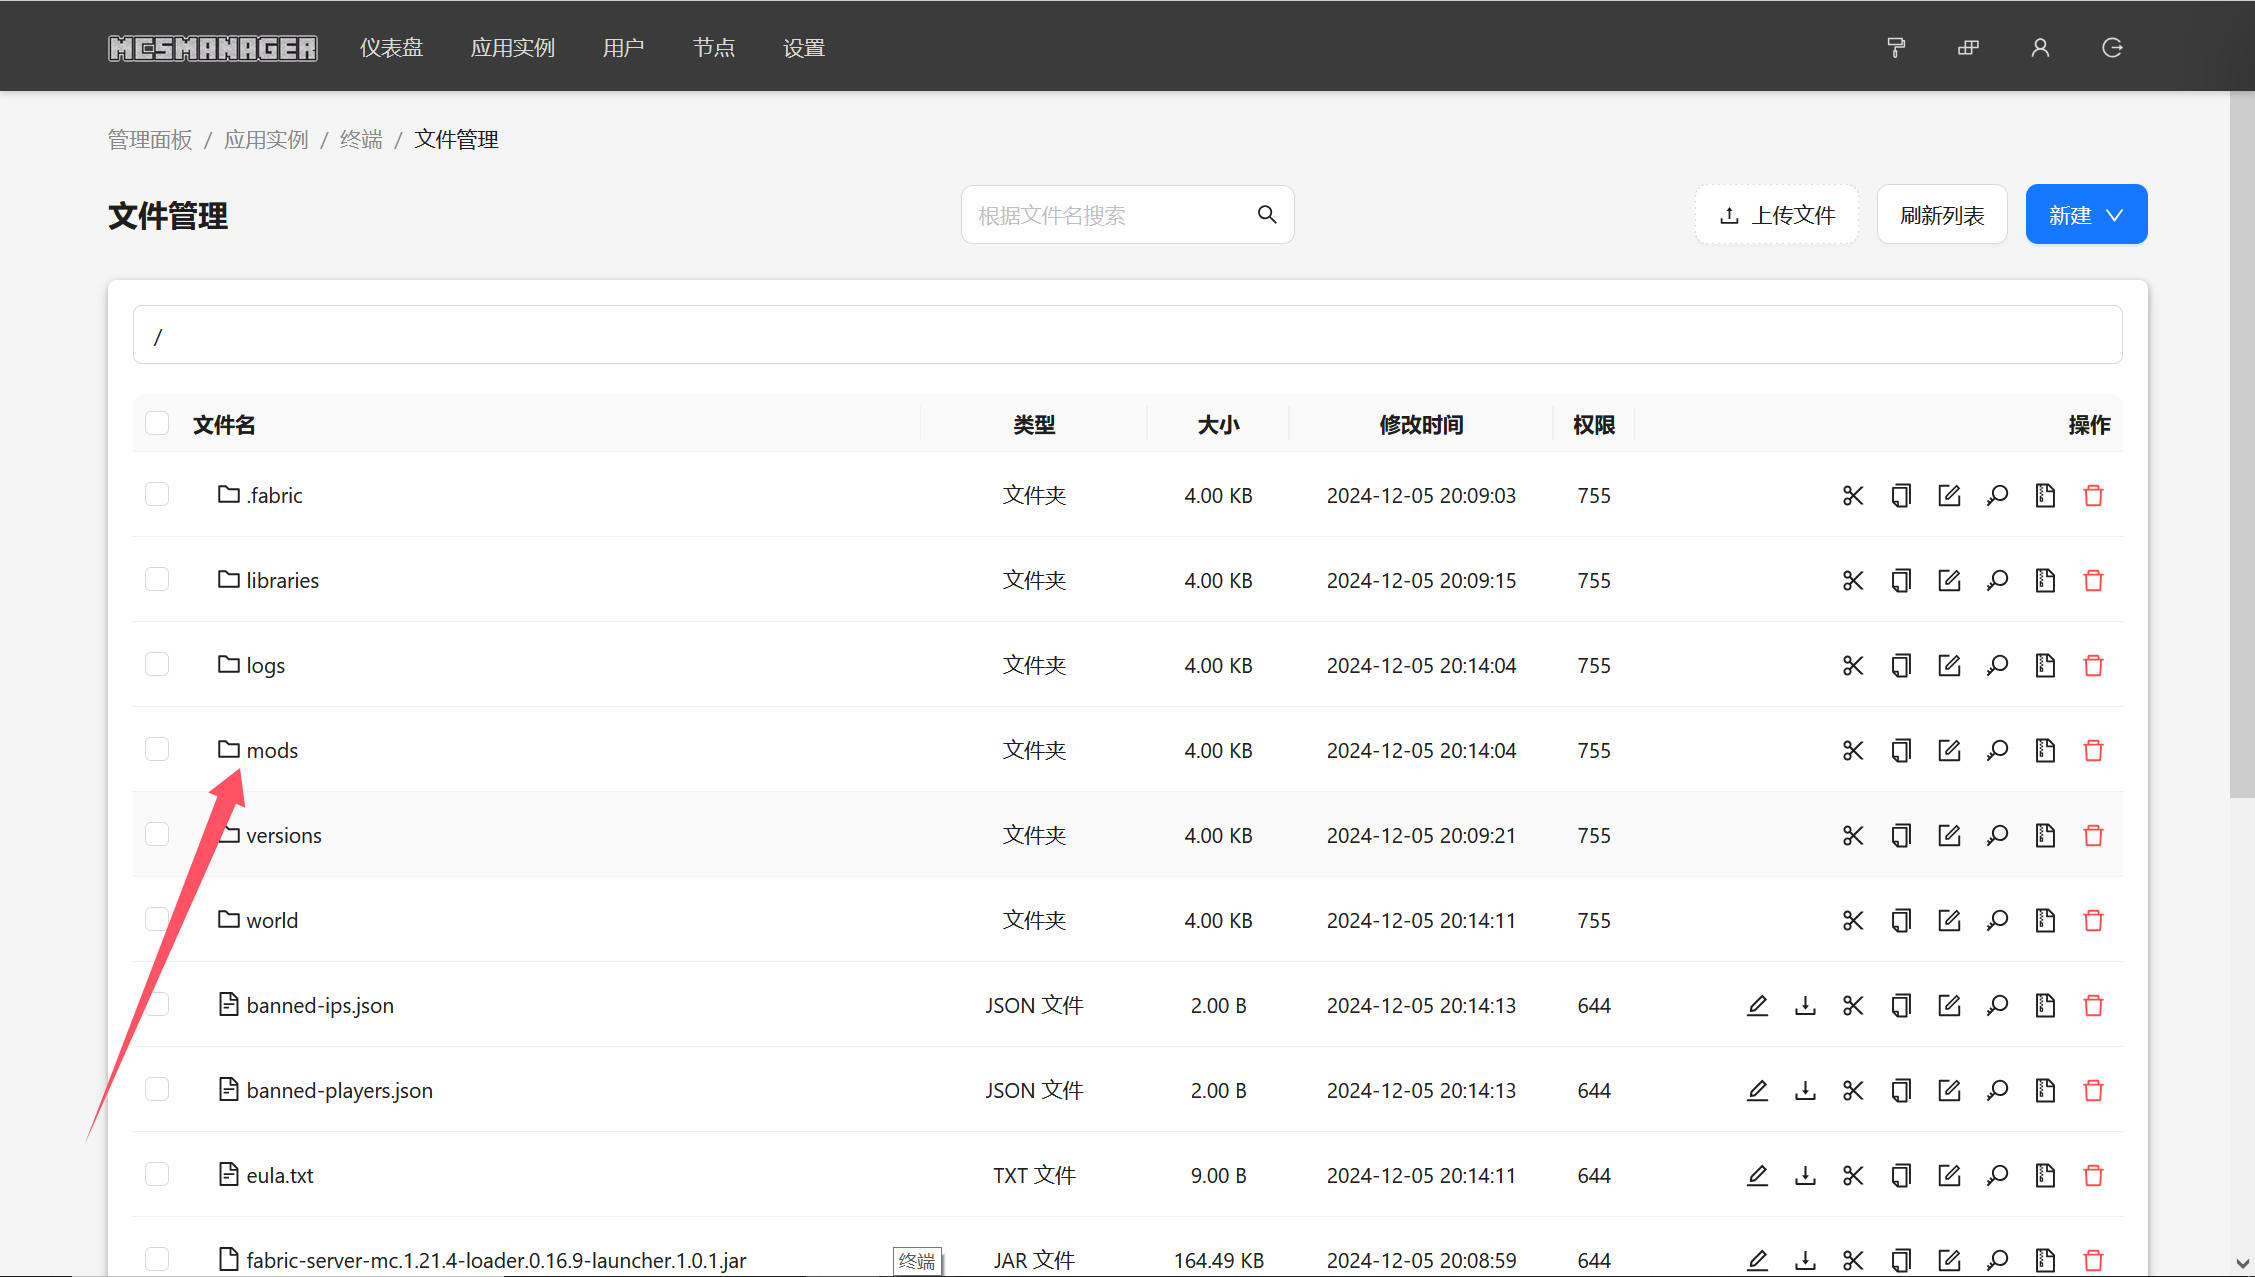
模组添加
打开文件管理,找到mods文件夹,把模组放进去就行